How to Clean Melted Wax From Surfaces
Melting wax, whether from a candle or a DIY project, can leave messy residue on countertops, fabric, or furniture. This guide provides practical steps to safely remove melted wax using common tools and simple techniques. Follow the process in a steady, careful sequence to protect surfaces and avoid staining.
Quick Answer
Allow the wax to cool and harden, then gently remove the excess with a plastic scraper. Use heat to soften remaining wax, applying a heat gun for wax removal at a safe distance, followed by blotting with a paper towel. Finish with a gentle cleaner to remove any residue.
What You’ll Need
- Heat gun for wax removal (or a hair dryer on low heat)
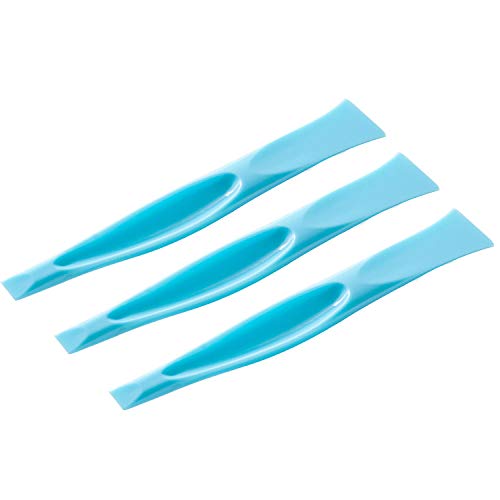
- Candle wax scraper plastic or a plastic spoon
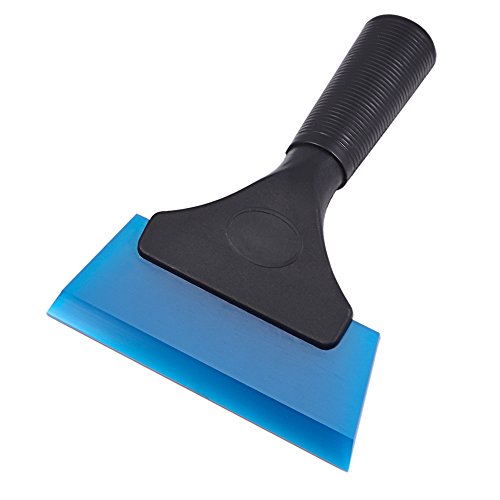
- Rubber squeegee wax remover or an old credit card
- Paper towels or a soft cloth
- Isopropyl alcohol or a mild dish soap
- White vinegar (optional for stubborn stains)
- Water and a clean microfiber cloth

Before You Start
Clear the area and protect nearby surfaces with a drop cloth. Test cleaning solutions on an inconspicuous spot first to avoid damage. Be cautious when using heat around flammable materials, and never touch a hot scraper to skin. For delicate fabrics, consider fabric-safe methods first to prevent dye transfer or fiber damage.
Step-By-Step: How To Clean Melted Wax From Surfaces
- Let the wax cool and harden completely. Break off as much as possible with the candle wax scraper plastic or a plastic spatula.
- Place a paper towel over the remaining wax and gently press with a warm iron or use a heat gun for wax removal on a low setting to soften the wax beneath the paper towel.
- As the wax melts, lift with the scraper or edges of a card to remove more of the liquid wax. Repeat until most of the residue is gone.
- Wipe the area with a damp cloth to remove melted wax fragments. If any oily sheen remains, apply a small amount of isopropyl alcohol and blot.
- For stubborn spots on hard surfaces, dampen a microfiber cloth with a mild dish soap solution and wipe in circular motions, then rinse with clean water.
- Use a rubber squeegee wax remover to push residual wax toward the edge, then wipe clean with a fresh cloth. This helps lift fine wax particles.
- Dry the surface completely. If a faint stain persists, dab with a cloth moistened with white vinegar, then rinse and dry again.
- Finish by inspecting the area in good lighting. Repeat any steps only on the affected spot to avoid over-cleaning surrounding material.
- For fabrics, place a paper towel under the stain and apply a bit of rubbing alcohol or a fabric-safe solvent, blot gently, then launder per fabric care instructions.
- Ventilate the area while using cleaning solutions and keep heat away from flammable fabrics and finishes.
- Store tools and cleaners safely after use to prevent accidental burns or spills.
- Dispose of used paper towels and wax scraps in a waste container to keep the workspace tidy.
Troubleshooting
| Symptom | Likely Cause | Fix | Prevention |
|---|---|---|---|
| White haze on plastic or glass | Residue left from wax or cleaners | Rewipe with a clean cloth dampened with water | Test cleaners on hidden area first |
| Stains after wax removal | Colored dye from candle or finish | Apply a small amount of isopropyl alcohol, blot, then rinse | Use color-safe cleaners for porous surfaces |
| Wax re-softens when heated | Excess heat or insufficient scraping | Reduce heat and increase mechanical removal steps | Work in short bursts |
| Surface scratches from scrapers | Hard edge tool used too aggressively | Switch to a softer plastic scraper | Use gentle pressure |
Common Mistakes
- Using metal tools that scratch surfaces
- Applying excessive heat in one spot
- Trying to wipe wax before it cools and hardens
- Rushing cleanup on delicate fabrics
Tips For Best Results
- Always test a small hidden area before applying cleaners broadly.
- Work from the edge of the wax spill toward the center to prevent spreading.
- Use multiple passes with the scraper rather than forcing wax with heat.
- Choose the right tool: plastic scrapers for hard surfaces, rubber squeegees for smooth finishes, and appropriate cloths for fabrics.
- Keep a dedicated wax-cleaning kit to streamline future cleanups.
Call A Professional
Call a professional if the wax spill covers an extensive area, involves delicate or damaged materials, or if heat could risk structural components. Seek expert help for antique finishes, upholstery with dye runs, or large-scale countertop damage where improper cleaning could cause permanent harm.
FAQ
Can I use a hair dryer instead of a heat gun?
Yes, on a low setting and held at a safe distance; avoid overheating delicate surfaces.
Is isopropyl alcohol safe on all surfaces?
Not on porous stones or varnished wood. Test first and use milder cleaners on sensitive materials.
Will melted wax ruin fabric?
Most fabrics respond to gentle solvent treatment; always follow fabric care instructions and test first.
How do I remove colored candle wax from plastic?
Start with plastic-safe cleaners and blotting; avoid abrasive scrubbing that could scratch.
Buying Guide
When selecting tools for wax cleanup, consider size, material, and compatibility with surfaces. A heat gun for wax removal offers controlled warmth, but a hair dryer may suffice for light spills. A candle wax scraper plastic provides safe removal on hard surfaces, while a rubber squeegee wax remover helps lift residual wax without scratching. Look for ergonomically designed handles for extended use, and choose tools with soft edges to protect countertops, glass, and furniture.
Additional Buying Considerations
- Surface type: glass, metal, wood, or fabric each requires different cleaners and tools.
- Cleanup frequency: choose durable tools if spills are common in the household.
- Storage and organization: a dedicated wax cleanup kit helps quick response.
- Energy and safety: avoid high heat near fabrics and finishes; ensure proper ventilation when using solvents.
Leave a Reply