How to Get Rid of Air Bubbles on Painted Walls
Air bubbles under fresh or previously painted walls can ruin a smooth finish. This guide provides a practical, step-by-step approach for American homeowners to identify, repair, and prevent bubbling paint. By following the procedures and using common repair products, you can restore a flawless surface with minimal disruption.
Understanding why bubbles form helps tailor the fix. Causes include moisture intrusion, poor surface preparation, incompatible paint layers, and applying paint too thickly. The methods below emphasize proper prep, careful sanding, and quality touch-up.
Quick Answer
Is there a fast way to fix bubbling paint? Yes. Remove the bubbled sections, clean the area, apply a compatible spackle or patch compound, sand smooth, prime, and repaint with thin, even coats. For stubborn bubbles, you may need to seal the area with a bonding primer before restoration.
What You’ll Need
- Wall repair kit spackle putty knife for repairing bubbled paint on walls
- Drywall sanding block and patch kit for fixing paint bubbles
- Spackle compound paint touch-up kit for bubbling paint walls


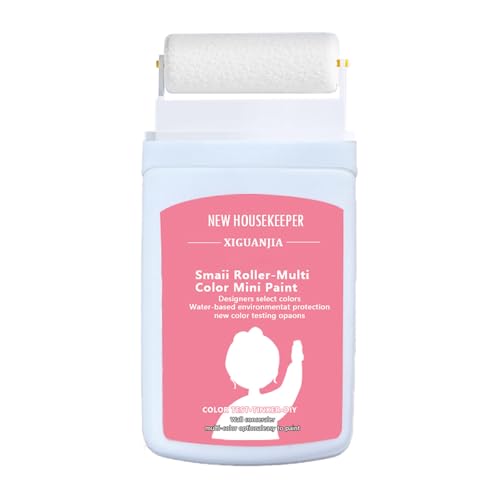
Before You Start
Assess the affected area to determine the extent of bubbling. Remove loose paint with a putty knife and gently scrape surrounding edges to reduce flaking. Clean the surface with a mild detergent solution and allow it to dry completely. Caution: ensure electrical outlets are protected and use a drop cloth to catch dust. Time for prep and repair typically ranges from 2 to 6 hours, depending on room size and drying times.
Prep steps help prevent future bubbles. If moisture is suspected, fix leaks or plumbing issues before repainting. In high-humidity rooms, consider a breathable primer and a moisture-resistant topcoat.
Step-By-Step: How To Fix Bubbling Paint On Walls
- Identify and remove all bubbled paint, cutting back to solid, clean edges.
- Wipe the area with a damp cloth to remove dust and let it dry.
- Embed a patch or spackle into the damaged region, smoothing it flush with the surrounding surface.
- Allow the compound to dry according to the manufacturer’s instructions, then lightly sand until smooth.
- Apply a thin coat of primer or bonding primer over the repaired area to improve adhesion.
- Apply the first thin coat of paint, feathering beyond the repaired zone to blend with the wall.
- Let the first coat dry fully, then apply a second thin coat for even coverage.
- Inspect the finish under different lighting and touch up any uneven spots as needed.
- Re-clean nearby areas and reinstall any outlet covers or trim pieces after the paint cures.
- Maintain consistent paint conditions to avoid future bubbles, including stable humidity and temperature.
- If bubbling recurs, reassess moisture sources and consider a different paint system.
Troubleshooting
| Symptom | Likely Cause | Fix | Prevention |
|---|---|---|---|
| New bubbles appear shortly after painting | Moisture intrusion or improper surface preparation | Dry area completely, apply bonding primer, repaint in thin layers | Address moisture sources, use appropriate primers |
| Paint peels around bubbles | Loose paint or weak adhesion | All damaged areas must be scraped, repaired, then re-sealed | Proper surface prep and primer selection |
| Bubbleing on glossy surfaces | Incompatible paint layers | Sand lightly, apply compatible primer, recoat with appropriate finish | Check compatibility of topcoat and primer |
| Frequent bubbling after humidity spikes | Moisture in walls | Repair moisture source, use moisture-resistant products | Ventilate and regulate indoor humidity |
Common Mistakes
- Not letting patches dry completely before sanding or painting
- Sanding too aggressively and creating new imperfections
- Using thick paint coats that trap moisture
- Skipping primer on repaired areas or using the wrong type of primer
- Neglecting moisture problems in bathrooms, kitchens, or basements
Tips For Best Results
- Work in temperatures within the manufacturer’s recommended range for paint and patch products
- Feather edges during painting to avoid hard lines that reveal repairs
- Test patch adhesion on a small area before full repair
- Use long, even strokes when applying paint to reduce compression and air entrapment
- Keep all tools clean to prevent introducing debris into the patch or paint
Call A Professional
Seek professional help if bubbling recurs after multiple repairs, if there is visible water damage, or if the walls show signs of structural issues. Stop work and consult a licensed contractor when you notice persistent moisture, mold, or extensive interior damage.
FAQ
What causes air bubbles under paint on walls?
Air bubbles typically form due to moisture intrusion, poor surface preparation, or applying paint over incompatible layers.
Can I fix bubbling paint myself, or do I need tools?
Many minor bubbles can be repaired with basic tools, patch compounds, and careful repainting.
Should I replace drywall if bubbles are severe?
Severe or widespread bubbling may indicate damage beyond cosmetic repair and might require drywall replacement.
Is moisture a recurring problem after repair?
If moisture sources aren’t addressed, bubbles can recur; it’s essential to fix leaks and ensure proper ventilation.
What type of primer should I use after repairing bubbles?
A bonding or stain-blocking primer is often recommended to improve adhesion on repaired surfaces.
How long should I wait between coats?
Follow the paint manufacturer’s recommended drying times; typically 2–4 hours between thin coats in dry conditions.
Are there differences between bathroom and living room wall repairs?
Yes. Bathrooms require moisture-resistant products, while living rooms may benefit from durable, low-odor finishes.
Buying Guide
When choosing products to fix air bubbles on painted walls, consider size, surface type, and environmental conditions. A compact wall repair kit with spackle and a putty knife is ideal for small patches, while a drywall sanding block and patch kit helps with larger areas. Look for spackle or patch compounds that dry hard and sand smoothly, and select paints with compatible primers for best results. Energy-efficient primers and coatings can improve long-term durability in damp spaces. Consider room placement and exposure to moisture to guide product selection.
Leave a Reply