How to Clean a Santa Cruz Shredder
Santa Cruz Shredder grinders are a popular choice for herb enthusiasts due to their precision teeth and durable construction. Regular cleaning keeps metal teeth sharp, prevents resin buildup, and extends the life of the grinder. This guide covers practical steps to clean a Santa Cruz Shredder effectively using common tools and safe methods.
Quick Answer
Disassemble the grinder, tap out loose debris, soak or wipe with isopropyl alcohol, use a soft brush or scraper for stubborn resin, and dry completely before reassembling. For delicate parts or hard-to-reach resin, an ultrasonic cleaner can help; avoid submerging magnetic parts for long periods unless the manufacturer specifies it is safe.
What You’ll Need
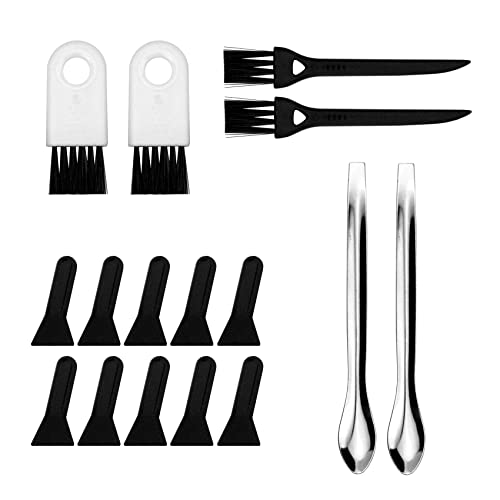
- herb grinder cleaning brush set
- grinder cleaning kit isopropyl alcohol brush scraper
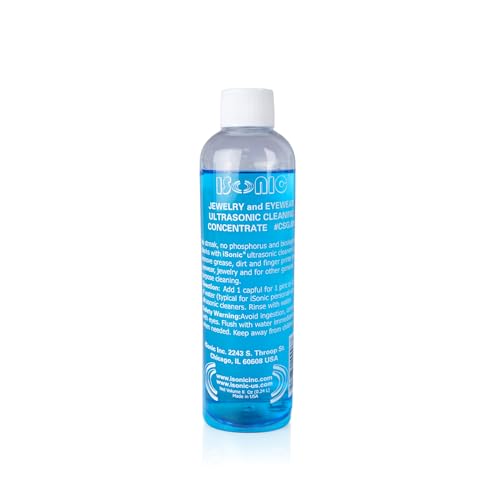
- ultrasonic cleaner for small parts jewelry and grinders

Before You Start
Prepare a clean workspace and a reusable container for soaking. Always ensure the grinder is fully disassembled and dryable parts are separated. Work in a well-ventilated area because isopropyl alcohol fumes can be strong. Time estimates vary: plan about 20–60 minutes depending on buildup and cleaning method. If your grinder has magnets, handle them carefully to avoid misalignment during reassembly.
Step-By-Step: How To Clean A Santa Cruz Shredder
- Carefully disassemble the grinder into its main components: top chamber, middle chamber, grinding teeth, and keef screen if present. Remove every piece that can be detached without forcing parts.
- Tap or gently brush out loose resin and crumbs over a trash or disposal container. A small brush from the herb grinder cleaning brush set works well for stubborn fragments.
- Prepare a cleaning solution. For most builds, a bowl of isopropyl alcohol (preferably 90% or higher) is effective. Do not use hot water; it can cause metal expansion and corrosion in some models.
- Submerge the metal parts in the alcohol and let them soak for 10–15 minutes to loosen resin. If you’re using an ultrasonic cleaner, place the pieces in a small mesh bag or container compatible with the device.
- Gently scrub each piece with the brush, focusing on teeth, slots, and the screen. Use a scraper or pick to dislodge resin from tight corners. Avoid forcing blades or delicate components to prevent misalignment.
- Rinse under cool running water if the parts are water-safe, or remove from the alcohol bath and wipe with a clean cloth soaked in isopropyl alcohol. Let the components air-dry completely on a lint-free towel before reassembly.
- If resin remains stubborn, repeat the soak and scrub cycle or briefly place the parts back in the ultrasonic cleaner. Do not leave magnets in alcohol longer than necessary, as prolonged exposure can affect adhesion or alignment.
- Reassemble the grinder once all pieces are completely dry. Check that the teeth align properly and that the keef screen sits flush. A gentle test grind with a small amount of herb helps verify smooth operation.
- Optional maintenance: apply a light, non-reactive coating or wipe of mineral oil to metal surfaces if your model’s manual allows it. This can help reduce future buildup, but avoid oil residues reaching the herb chamber.
- Store in a clean, dry place to prevent future resin buildup. Schedule routine cleanings, especially after heavy use periods or when you notice decreased grinding efficiency.
- Document any unusual wear or damage. If a part feels loose, or the teeth show noticeable wear, consider professional inspection or replacement parts from the manufacturer or authorized dealers.
- Schedule a quick quarterly clean as part of your routine to maintain performance and ensure consistent grind quality.
Troubleshooting
| Symptom | Likely Cause | Fix | Prevention |
|---|---|---|---|
| Grind feels gritty or uneven | Resin buildup between teeth | Deep clean with alcohol and a soft brush | Regular light clean after each use |
| Parts don’t align after reassembly | Disassembly order or magnets misaligned | Disassemble again and reassemble in reverse order, recheck magnet position | Take photos during disassembly to guide reassembly |
| Grinding is noisy or stiff | Dry parts or trapped particles | Ensure all parts are fully dried and clear debris | Dry thoroughly and avoid moisture during cleaning |
| Keef screen damaged | Over-aggressive scraping or force | Replace the damaged screen if possible | Use gentle tools and proper technique |
Common Mistakes
- Using overly hot water or harsh cleaners that can corrode metal parts
- Forcing pieces back together when they don’t align
- Saturating magnets or coatings with solvents for extended periods
- Rushing the drying process, which encourages rust or corrosion
Take your time with each step to preserve the grinder’s precision and longevity. A careful, methodical approach yields a smoother grind and a more consistent keef collection over time.
Tips For Best Results
- Use a dedicated grinder brush to avoid cross-contaminating with other tools
- For heavy resin, a brief second soak followed by a thorough scrub can dramatically improve cleanliness
- If using an ultrasonic cleaner, keep the cleaning cycle short to protect delicate components
- Keep spare screens and small parts in labeled containers to simplify reassembly
- Label the parts if you disassemble multiple similar devices to prevent mix-ups
Call A Professional
Consider a professional servicing if you notice persistent grinding resistance after routine cleaning, visible wear on teeth, or damaged screens that affect airflow. Stop using the grinder if there are cracks, loose parts, or any unusual noises that persist after cleaning. A pro can assess structural integrity and provide replacement parts or refurbishment options.
FAQ
Can I use water to clean a Santa Cruz Shredder?
Water can be used for rinsing but avoid prolonged exposure and ensure all parts are completely dry before reassembly.
Is isopropyl alcohol safe for all Santa Cruz Shredder parts?
Isopropyl alcohol is generally safe for metal components and screens; check the manufacturer’s guidelines for any plastic components.
Should I soak the whole grinder or just the metal parts?
Focus on the metal components and screens; if plastic parts exist, limit exposure or avoid soaking unless the manual allows it.
How often should I clean my Santa Cruz Shredder?
Clean after every few uses for light maintenance, or perform a deeper clean monthly or after heavy use periods.
What if the keef screen is clogged after cleaning?
Gently remove the debris with a thin tool and re-clean the screen; if damaged, replace it.
Is an ultrasonic cleaner necessary?
Not strictly necessary, but it can help remove stubborn resin from hard-to-reach areas.
Buying Guide
The right cleaning approach can preserve the performance of your Santa Cruz Shredder. When considering cleaning tools, evaluate size compatibility, material compatibility, and ease of use. Look for a grinder cleaning kit that includes a soft brush, scraper, and isopropyl alcohol-compatible container. An ultrasonic cleaner offers deeper cleaning for small parts but may be overkill for casual users. Consider a compact, dedicated brush set for quick daily maintenance and a larger ultrasonic unit for periodic deep cleans. Ensure replacement screens and parts are readily available from authorized dealers to keep your grinder in peak condition. If you plan regular maintenance, a compact kit with clear instructions can streamline the process and extend the grinder’s lifespan.
Are you curious about the best routine for your usage? A simple schedule typically works well: quick weekly wipe-downs, monthly deeper clean using alcohol, and quarterly checks of screens and teeth for wear. If you have a high-use setup or frequent travel, adjust the frequency to keep resin buildup under control and maintain consistent grind quality. Ultimately, a clean Santa Cruz Shredder delivers smooth operation and better keef yield.
Leave a Reply