How to Clean Ninja Foodi Lid
The Ninja Foodi lid can accumulate grease, steam residue, and mineral deposits, especially around the gasket and vent areas. A clean lid not only looks better but also helps maintain seal quality and overall performance. This guide walks through practical steps using common household tools and the specific items best suited for appliance lids.
Quick Answer
Quick Method: Rinse the lid under warm water, use a soft nylon scrub brush for stubborn spots, then wipe with a microfiber cloth. For tight areas around the gasket, use the Ninja Foodi lid gasket cleaning brush to scrub without damaging seals. Dry completely before reassembling.
What You’ll Need
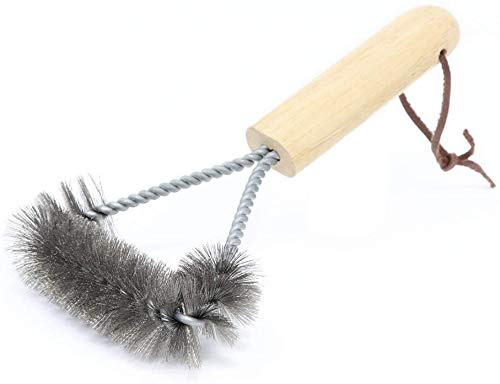
- Ninja Foodi lid gasket cleaning brush
- Microfiber cleaning cloth for appliance lids
- Soft nylon scrub brush for nonstick cookware and appliances
- Warm water and mild dish soap
- Optional white vinegar for mineral deposits
- Soft towel or air-drying space


Before You Start
Unplug the appliance and ensure the lid has cooled completely before handling. Remove any removable gasket or seals if the model allows, and follow the manufacturer’s guidance for disassembly. Work in a well-ventilated area and avoid abrasive cleaners that could scratch nonstick surfaces. Time estimate: about 10–15 minutes for routine cleaning; 15–25 minutes if mineral buildup is present. Critical cautions: never submerge electronic components unless the manual permits; avoid harsh solvents near the gasket; ensure all parts are completely dry before reassembly.
Step-By-Step: How To Clean Ninja Foodi Lid
- Unplug and detach the lid from the base if your model allows removal of components.
- Rinse the lid under warm running water to loosen surface grime and food particles.
- Apply a small amount of mild dish soap to a soft nylon scrub brush and gently scrub the exterior and interior surfaces, focusing on crevices near the vent and gasket.
- Use the Ninja Foodi lid gasket cleaning brush to clean tight spaces around the gasket, steam vents, and seals without bending parts.
- For any mineral deposits or stuck-on residue, make a 1:1 solution of white vinegar and water and let it sit for a few minutes before scrubbing again.
- Wipe all surfaces with the microfiber cleaning cloth for appliance lids, ensuring no soap residue remains.
- Rinse thoroughly with clean water and inspect the lid for remaining spots or moisture in crevices.
- Dry each component completely with a soft towel or allow to air-dry on a clean surface before reassembling.
- Reattach the lid to the unit and run a quick test cycle with water (no food) to verify a proper seal and no leaks.
- Store the lid in a dry area away from moisture when not in use to prevent mold growth in the gasket channel.
Troubleshooting
| Symptom | Likely Cause | Fix | Prevention |
|---|---|---|---|
| Gasket is sticky after washing | Soap residue or mineral deposits | Rewash with minimal soap and thorough rinse; wipe dry | Rinse promptly after cooking and dry completely |
| Visible mold in gasket groove | Moisture trapped in the gasket | Clean with vinegar solution, dry thoroughly | Dry after each use; store open to ventilate |
| Vents not releasing steam smoothly | Debris lodged in vent areas | Clean vents with the gasket brush; use a toothpick carefully if needed | Regular maintenance after heavy cooking |
| Scratches on nonstick surface | Abrasive cleaners or brushes | Switch to nylon-bristle brushes and non-abrasive cloths | Avoid metal utensils and harsh abrasives |
Common Mistakes
- Using harsh solvents near the gasket or seals
- Using abrasive scrubbers that scratch nonstick surfaces
- Not drying the lid completely, leading to mold growth
- Over-submerging electronic components, if not designed for it
- Forgetting to clean the vent regularly, causing buildup
Tips For Best Results
- Clean the lid after each use to prevent mineral buildup and odor.
- Use the provided gasket brush for tight spaces to preserve seal integrity.
- Maintain a routine by wiping with a microfiber cloth to remove fingerprints and smudges.
- Label removable gaskets and parts if your model uses multiple seal types for easier reassembly.
- Store disassembled components in a dry area to prevent moisture-related issues.
Call A Professional
If the lid shows cracking, persistent mold in hard-to-reach areas, or a persistent leak after cleaning, contact a professional appliance technician or the manufacturer’s support line. Stop using the unit until a professional confirms safe operation. Do not attempt major repairs yourself if warranty coverage may be affected.
FAQ
Is it safe to soak the Ninja Foodi lid?
Only if the model’s manual allows soaking; otherwise, avoid prolonged water exposure to electronic components and seals.
What cleaner is best for mineral deposits?
A mild dish soap with a vinegar-water solution works well on most mineral buildup.
How often should I clean the lid?
Clean after heavy use or weekly as part of routine maintenance.
Can I use bleach on the lid?
Avoid bleach near seals and nonstick surfaces as it can degrade materials over time.
Buying Guide
When selecting tools for Ninja Foodi lid maintenance, consider size compatibility with your model, ease of use, and material durability. Look for a dedicated lid gasket cleaning brush designed to reach gasket channels, a microfiber cloth that won’t shed fibers, and a soft nylon scrub brush that won’t scratch nonstick surfaces. For consistent results, choose tools with non-aggressive bristles and safe, appliance-grade materials. Consider whether the tools come in a kit or separately, and ensure replacements are readily available. A compact, dedicated cleaning kit can simplify routine maintenance and help extend the life of the lid seals and vent components.
Leave a Reply