How to Clean a KitchenAid Coffee Maker
Keeping a KitchenAid coffee maker clean ensures optimal bean-to-brew flavor and extends the appliance’s lifespan. Regular maintenance tackles mineral buildup, stale oils, and residue that can affect extraction. This guide provides a practical, step-by-step approach using commonly available cleaning tools.
Whether the goal is a quick refresh or a deep clean, following a structured routine helps maintain performance and taste. The steps below cover descaling, parts cleaning, and routine upkeep to keep every pot tasting as good as the first.
Quick Answer
Descale weekly or monthly depending on usage and water hardness, and clean the carafe and removable parts after each use to prevent residue buildup. Use the KitchenAid descaler tablets and a dedicated cleaning kit for best results, followed by a thorough rinse cycle.
What You’ll Need
- KitchenAid coffee maker descaler tablets
- KitchenAid coffee maker cleaning kit
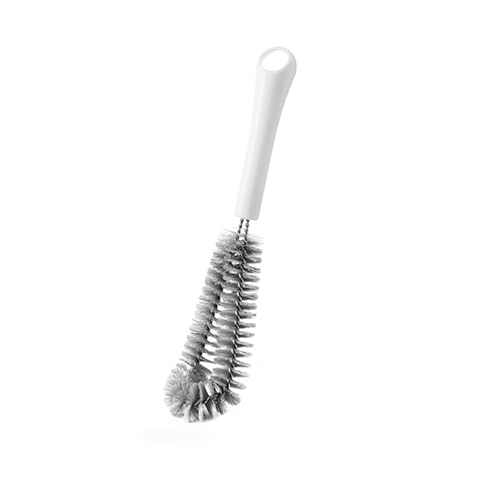
- Carafe cleaning brush for KitchenAid coffee maker


Before You Start
Before beginning, unplug the machine and ensure all removable parts are detached. Run hot water through the reservoir to loosen minerals. Use gloves if you have sensitive skin and work in a well-ventilated area. Time estimates vary: plan about 45–60 minutes for a thorough descaling and cleaning cycle.
Step-By-Step: How To Clean A KitchenAid Coffee Maker
- Remove the filter basket and the carafe; rinse both with warm soapy water.
- Fill the reservoir with water and add the KitchenAid descaler tablets according to the package directions.
- Run a full brewing cycle with the cleaning solution, then turn off the machine and let it sit for 15 minutes to allow mineral deposits to dissolve.
- Empty the reservoir and run 1–2 pump cycles with clean water to rinse the internal system.
- Fill the reservoir with clean water and run a complete brew cycle to ensure thorough rinsing.
- Clean the carafe and lid using warm soapy water; scrub with the carafe cleaning brush for KitchenAid coffee maker to remove stubborn stains.
- Wipe down the exterior and control panel with a damp cloth; avoid abrasive cleaners that may damage finishes.
- Reassemble all parts and run a final hot-water rinse without coffee to remove any remaining flavors.
Troubleshooting
| Symptom | Likely Cause | Fix | Prevention |
|---|---|---|---|
| Weak or off-tasting coffee | Mineral buildup or stale oils | Deep clean with descaler tablets; rinse cycles | Regular cleaning schedule |
| Slow brewing or water not draining | Clogged filters or deposits | Descale and rinse; check for blockages | Frequent quick clean after cycles |
| Residue around the carafe rim | Overflows or incomplete rinsing | Thorough rinse cycles; inspect gasket | Rinse thoroughly after each use |
| Indicator lights or display not working | Electrical issue or moisture | Unplug, dry, and retry; if persists, consult support | Keep area dry during cleaning |
Common Mistakes
- Skipping the rinse cycles after descaling, leaving residual taste
- Using abrasive tools on the carafe or housing
- Using regular household vinegar in place of descaler tablets, which can leave odors
- Neglecting to rinse the water reservoir and filters regularly
Tips For Best Results
- Use filtered or bottled water if your tap water is very hard to minimize mineral buildup.
- Schedule a monthly deep clean and a weekly quick rinse to maintain flavor and performance.
- Replace any worn gaskets or seals promptly to prevent leaks during cleaning cycles.
- Store the cleaning kit in a dedicated cabinet for easy access during routine maintenance.
Call A Professional
Consider contacting a professional if the coffee maker exhibits persistent leaks, electrical issues, or recurring malfunction after multiple cleaning attempts. Stop using the machine if it emits unusual noises, smells burnt, or overheats during operation.
FAQ
How often should I descale my KitchenAid coffee maker?
Descale every 1–3 months based on water hardness and usage; more frequent cleaning is recommended in areas with hard water.
Can I use vinegar to descale instead of descaler tablets?
Vinegar is not recommended for KitchenAid machines; use the official descaler tablets for best results and to avoid residue.
How long does a full cleaning cycle take?
Plan about 45–60 minutes for a thorough clean, including descaling, rinsing, and final checks.
Is it safe to put the carafe in the dishwasher?
Check the user manual; many KitchenAid carafes are dishwasher safe, but always verify the model’s specifics.
What parts should be cleaned after every use?
Wash the carafe, lid, and filter basket regularly; wipe the exterior and control panel to remove fingerprints and spills.
Buying Guide
When selecting accessories to support cleaning a KitchenAid coffee maker, consider factors such as compatibility, ease of use, and maintenance impact. A well-rounded kit with descaler tablets, a dedicated cleaning kit, and a carafe brush offers a practical approach to ongoing upkeep.
Buying Guide: Key Factors To Consider
- Size and compatibility: Ensure the tools fit your specific KitchenAid model and carafe type.
- Descaling effectiveness: Look for tablets formulated for coffee machines to remove mineral buildup efficiently.
- Ease of use: Simple instructions and clear dosing help maintain consistency.
- Noise and energy considerations: Cleaning cycles should not significantly disrupt kitchen routines; choose energy-efficient cleaning approaches when available.
- Placement: Keep cleaning supplies in a dry, accessible spot near the coffee station for quick maintenance.
Leave a Reply