How to Clean Kitchen Fan Filter
Kitchen exhaust fans help remove heat, smoke, and cooking odors, but their filters can get greasy and clogged over time. Cleaning the kitchen fan filter improves airflow, reduces energy use, and extends the life of the range hood. This guide provides practical steps, safe tips, and product options to make the job straightforward for American homes.
Quick Answer
Bottom line: most kitchen range hood filters should be cleaned every 1–3 months, depending on cooking frequency. Soak oily filters in warm, soapy water, scrub with a brush, rinse thoroughly, and let them dry completely before reinstallation.
What You’ll Need
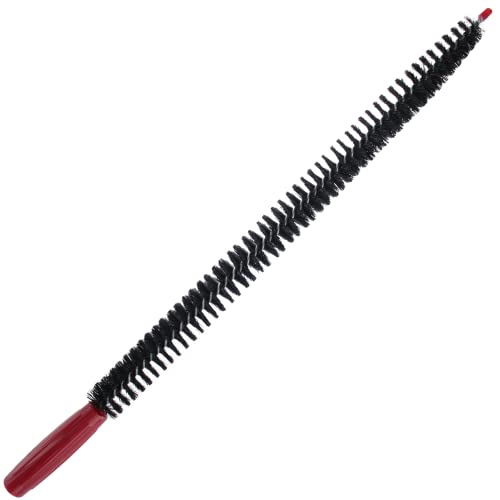
- Range hood filter cleaning brush
- Vent hood filter cleaning kit
- Oven hood vent cleaning brush
- Large basin or sink
- Dish soap (degreasing formula)
- Warm water
- Soft cloths or towels
- Old toothbrush (optional for crevices)


Before You Start
Safety first: turn off the range hood and ensure the fan is cool before touching any parts. Read any manufacturer guidance for your specific model to avoid damage. Remove the filter according to your hood’s instructions and place it on a stable surface. Plan for a 30–60 minute session, as soaking and scrubbing can take time. Wear gloves if you have sensitive skin and protect surrounding counters with towels to catch drips.
Step-By-Step: How To Clean Kitchen Fan Filter
- Remove the filter from the hood following the manufacturer’s instructions. Note how it is seated for easy reinstallation.
- Inspect the filter for damage. If the mesh is torn or the frame is bent, consider replacement rather than cleaning.
- Prepare a cleaning solution by mixing warm water with a degreasing dish soap in a large basin.
- Soak the filter in the warm soapy water for 10–15 minutes to loosen built-up grease and grime.
- Use a range hood filter cleaning brush or a soft brush to gently scrub both sides of the filter, paying attention to corners and slots.
- Rinse the filter under warm running water until all soap and residue are removed. If needed, repeat soaking for stubborn grease.
- Shake off excess water and pat dry with a clean cloth. Allow the filter to air-dry completely before reinstalling.
- Reinstall the filter securely in the hood and test the fan to ensure proper airflow.
- Dispose of used water responsibly and wipe down the interior of the hood to remove any loosened grease.
- Schedule the next cleaning based on cooking frequency and grease production to maintain optimal performance.
- For very heavy grease buildup, consider using a dedicated cleaner or a vent hood filter cleaning kit that includes protective gear and brushes.
- If you notice persistent odor or reduced airflow after cleaning, consult the manufacturer’s guidance or contact a service professional.
Troubleshooting
| Symptom | Likely Cause | Fix | Prevention |
|---|---|---|---|
| Filter won’t fit back in | Wrong orientation or bent frame | Recheck orientation; gently straighten frame if possible | Handle with care; store in a dry area |
| Grease still visible after cleaning | Thick buildup or soap residue | Re-soak and scrub with a scrub brush; rinse thoroughly | Clean more frequently to prevent heavy buildup |
| Unusual odor after cleaning | Residual grease or mold growth | Disinfect with a mild solution, rinse, and dry completely | Ensure complete drying and regular cleaning |
| Fan making noise after reassembly | Filter not seated, or debris obstructing blades | Remove and reseat; check for loose debris around fan | Clean regularly to prevent buildup |
Common Mistakes
- Using hot water that can warp plastic frames or seals
- Over-soaking metal filters that cause rust or deformities
- Failing to dry the filter completely before reinstalling
- Using abrasive cleaners that can scratch surfaces
Using the right tools, such as the oven hood vent cleaning brush and the other mentioned brushes, helps prevent these issues and keeps the filter in good condition.
Tips For Best Results
- Clean filters on a regular schedule based on cooking habits; high-grease kitchens may require monthly cleaning.
- Use a degreasing dish soap with strong grease-cutting properties for best results.
- Rinse thoroughly to avoid soap residue that can attract more grease.
- Inspect filters for wear and replace damaged mesh or frames promptly to maintain efficiency.
- Keep a spare filter or two clean and ready for quick swaps during heavy cooking periods.
Call A Professional
Consider contacting a professional if any of the following occur: persistent poor airflow after cleaning, visible damage to the filter or hood, unusual noises, or signs of mold growth that don’t respond to cleaning. If the hood is older or has electrical concerns, a licensed technician can safely assess and service the system.
FAQ
How often should I clean a kitchen fan filter?
Most homes benefit from cleaning every 1–3 months, depending on cooking frequency and grease production.
Can I put the filter in a dishwasher?
Only if the hood manufacturer approves dishwasher cleaning; many filters should be hand-washed to avoid damage.
What if my filter is heavily damaged?
Replace the filter to ensure proper airflow and avoid motor strain.
Are there eco-friendly cleaning options?
Yes, look for degreasing soaps with biodegradable formulas and avoid harsh chemicals on sensitive surfaces.
Buying Guide
When choosing tools for cleaning kitchen fan filters, consider size, compatibility, and ease of use. Look for a range hood filter cleaning brush that fits your filter dimensions, a vent hood cleaning kit with multiple brush sizes, and a durable oven hood vent cleaning brush for tight spots. Noise level and energy efficiency matter less for cleaning tools but ensure the kit components are non-abrasive and safe for metal and plastic surfaces. If possible, select tools with soft bristles to minimize potential scratching. For households with heavy grease, opt for a robust degreaser and an all-in-one cleaning kit to streamline the process. Placement considerations include storage space in the kitchen and accessibility for removing the filter without moving heavy appliances. Finally, check product compatibility with your hood model and read user reviews to confirm effectiveness in real-world scenarios.
Leave a Reply