How to Clean an Acrylic Shower Pan
Cleaning an acrylic shower pan doesn’t have to be harsh or time consuming. With the right gentle cleaners and tools, you can restore shine and keep the surface free of grime. This guide walks American readers through a safe, effective routine that protects the acrylic while removing soap scum, mineral deposits, and mildew.
Quick Answer
Gentle cleaners and soft tools are key. Use a non-abrasive acrylic shower pan cleaner spray for routine cleaning, a soft nylon scrub brush for acrylic shower pan cleaning for scuffs, and a microfiber cleaning cloth for acrylic shower pan to finish. Rinse thoroughly after each pass and dry with a microfiber cloth to prevent water spots.
What You’ll Need
- Non-abrasive acrylic shower pan cleaner spray
- Soft nylon scrub brush for acrylic shower pan cleaning
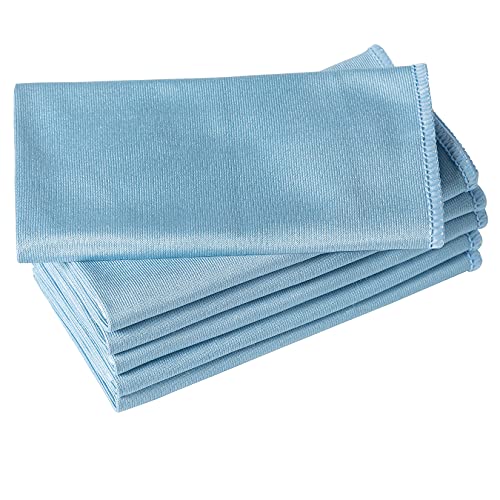
- Microfiber cleaning cloth for acrylic shower pan
- Warm water in a spray bottle
- Gloves for hand protection (optional)


Before You Start
Prepare the area by removing loose items from the shower and ensuring good ventilation. Inspect the pan for cracks or damage before cleaning; avoid cleaning if you notice any significant cracking. For safety, wear gloves and avoid harsh solvents that can damage the acrylic. Plan for a cleaning session that lasts about 15–30 minutes, depending on buildup, and allow the surface to air-dry after rinsing.
Critical cautions: do not use abrasive pads, strong acids, or solvent-based cleaners on acrylic; these can scratch or dull the surface. Always test a small, inconspicuous area first if you’re unsure about a product’s compatibility.
Step-By-Step: How To Clean An Acrylic Shower Pan
- Remove any loose debris or hair from the pan using a dry cloth or brush.
- Rinse the surface with warm water to loosen soap scum and minerals.
- Spray the non-abrasive acrylic shower pan cleaner spray evenly over the pan, focusing on stained or milky areas.
- Let the cleaner sit for 2–5 minutes to break down residues, then gently scrub with the soft nylon scrub brush for acrylic shower pan cleaning in circular motions.
- Rinse thoroughly with warm water, ensuring all cleaner residue is removed from corners and seams.
- Wipe the pan with a microfiber cleaning cloth for acrylic shower pan, moving in broad strokes to remove remaining moisture.
- Dry the surface with a clean microfiber cloth to prevent water spots and streaks.
- If mineral deposits remain, repeat the spray-and-scrub process on affected areas, avoiding aggressive scrubbing.
- For persistent staining, apply a small amount of cleaner to a hidden area to test compatibility, then proceed if no adverse reaction occurs.
- periodically check for soap scum buildup and repeat routine cleaning every week or two as needed.
- Finish with a quick wipe of the surrounding walls to keep the entire shower space fresh.
- Store cleaner and tools out of direct sunlight to maintain efficacy and avoid material degradation.
Troubleshooting
| Symptom | Likely Cause | Fix | Prevention |
|---|---|---|---|
| Streaks after cleaning | Residual cleaner or hard water minerals | Thinly re-wet a microfiber cloth and wipe in long, even strokes | Rinse thoroughly; dry after cleaning |
| Scratches or dull spots | Abrasive cleaners or tools | Switch to non-abrasive cleaner and soft brush | Avoid abrasive pads; test any product |
| Persistent soap scum | Minerals or body oils buildup | Repeat spray and gentle scrubbing; consider a second pass | Clean regularly to prevent buildup |
| Uneven sheen after drying | Water spots | Buff with microfiber cloth until polished | Dry with a second cloth for best results |
Common Mistakes
- Using abrasive pads or steel wool on acrylic surfaces.
- Choosing solvent-based or acidic cleaners that can etch the pan.
- Neglecting to rinse off cleaner completely, leaving residue behind.
- Skipping drying, which leads to water spots or mildew growth in corners.
Tips For Best Results
- Schedule a routine clean every 1–2 weeks to prevent heavy buildup.
- Test cleaners on a small area before full application to avoid damage.
- Use microfiber cleaning cloth for acrylic shower pan to minimize lint and streaks.
- Keep the bathroom well-ventilated during cleaning to speed up drying and reduce fumes.
Call A Professional
Consider contacting a pro if the acrylic shower pan shows deep scratches, cracks, or persistent staining that does not respond to routine cleaning. Signs that indicate professional help are significant surface damage, persistent mold behind caulk, or peeling coatings. If you notice any unusual odors, ongoing water leakage, or compromised structural integrity, stop cleaning and seek expert assessment.
FAQ
Is a non-abrasive cleaner safe on acrylic shower pans?
Yes, a non-abrasive acrylic shower pan cleaner spray is formulated to protect the surface while removing residue.
Can I use a regular sponge on acrylic pans?
Prefer a soft nylon scrub brush for acrylic shower pan cleaning or a microfiber cloth to avoid scratching.
How often should I clean my acrylic shower pan?
Regular maintenance every 1–2 weeks helps prevent buildup and keeps the surface looking new.
What should I do about hard water stains?
Apply cleaner to the stained area, let it sit briefly, then scrub gently and rinse thoroughly.
Buying Guide
Choosing cleaning tools that suit an acrylic shower pan involves considering size, compatibility, and ease of use. Look for a non-abrasive acrylic shower pan cleaner spray that is labeled safe for acrylic and non-hazardous for indoor use. A soft nylon scrub brush for acrylic shower pan cleaning should have gentle bristles, avoid stiff or metal components, and be easy to rinse. Pair these with a high-quality microfiber cleaning cloth for acrylic shower pan that has good absorbency and leaves minimal lint. Consider storage space, easy-to-clean handles, and whether the products come with instructions or on-product safety warnings. For households with hard water, you may want a cleaner formulated to tackle mineral deposits.
Key buying factors include:
- Size and coverage: A spray cleaner offers quick coverage for large pans, while a bottle with a spray trigger gives precise control.
- Noise level and ease of use: Simple spray-and-wipe routines reduce noise and effort.
- Energy and environmental impact: Choose water-based, low-VOC formulas when possible.
- Controls and application: Look for spray bottles and brush handles that are easy to maneuver and rinse.
- Placement and storage: Store cleaners out of sunlight and away from children or pets, with tools kept together for quick access.
With the right combination of cleaner, brush, and cloth, maintaining a pristine acrylic shower pan becomes a simple, repeatable task. Would you like help tailoring this set to a specific pan size or water type?
Leave a Reply