How to Clean a Waterpik
Maintaining a Waterpik water flosser ensures optimal plaque removal, fresh breath, and device longevity. Regular cleaning helps prevent mineral buildup, bacterial growth, and nozzle clogs that can affect performance. This guide provides a practical, step-by-step method using common supplies and the available Waterpik accessories.
Whether you rely on standard flossing tips or a descaling tablet routine, following a consistent cleaning schedule keeps your water flosser working like new. The process is simple enough for daily upkeep and comprehensive enough for monthly deep cleaning.
Quick Answer
Quick steps: unplug the unit, empty the reservoir, rinse with warm water, brush the nozzle and reservoir, run a cleaning cycle with descaling tablets if recommended, and replace tips as needed. Regular hands-on cleaning every week helps prevent buildup and ensures strong performance.
What You’ll Need
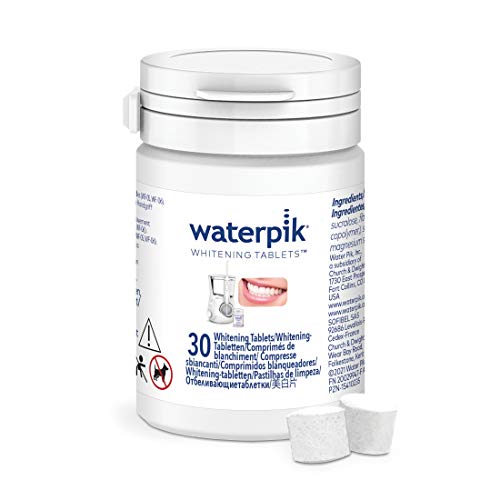
- Waterpik descaling tablets for water flosser
- Waterpik replacement flossing tips standard
- water flosser cleaning brush kit
- Clean water and a towel for drying


Before You Start
Read the user manual for your specific Waterpik model and ensure the unit is unplugged before disassembly. Prepare a clean work surface and lay out the cleaning tools. Do not use hot water or harsh cleaners, which can damage seals. Allow time for drying; a typical session takes about 15–20 minutes. If you notice persistent mineral buildup, schedule a deeper clean with descaling tablets as directed by Waterpik.
Step-By-Step: How To Clean A Waterpik
- Remove the water reservoir and empty any remaining water.
- Detach the flossing tip and rinse the tip chamber with warm water.
- Rinse the handle and hose connection to remove debris.
- Fill the reservoir with a descaling solution or plain white vinegar diluted with water, following product instructions.
- Run the unit on a cleaning cycle, allowing the solution to circulate through the system to loosen mineral deposits.
- Rinse thoroughly by running clean water through the reservoir and hose until there is no vinegar or tablet residue.
- Clean the nozzle tips with a soft brush, then rinse and dry before reattaching.
- Inspect the hose and gaskets for wear; replace if you notice cracking or leaks.
- Reassemble the unit and perform a short test flush with plain water to confirm proper operation.
- Schedule regular maintenance: weekly light cleaning and monthly deep cleaning with descaling tablets or recommended solutions.
- Store the unit in a dry, ventilated area to prevent mold and mildew.
Troubleshooting
| Symptom | Likely Cause | Fix | Prevention |
|---|---|---|---|
| Weak water flow | Clogged nozzle or mineral buildup | Clean nozzle, run descaling cycle | Clean monthly; use filtered water |
| Leaking from base | Loose connections or worn seals | Reconnect parts or replace seals | Inspect seals during maintenance |
| Unpleasant odor | Bacteria in reservoir | Clean reservoir with mild soap and rinse | Dry reservoir completely after use |
| No power | Power source or fuse issue | Check outlet and power cord | Use a surge protector if needed |
Common Mistakes
- Skipping descaling when mineral buildup is visible
- Using improper cleaning solutions that can damage seals
- Neglecting to rinse the reservoir after cleaning
- Forgetting to replace tips on a regular schedule
Tips For Best Results
- Use distilled or filtered water to minimize mineral deposits
- Incorporate a weekly quick rinse to prevent buildup
- Label replacement tips to track lifespan and replace as recommended
- Store the unit upright to reduce humidity in the reservoir area
Call A Professional
Consider consulting a professional if you notice persistent leaks, electrical issues, or if the unit fails to operate after multiple cleaning cycles. Stop using the device if you observe cracks in the housing, unusual noises, or overheating, and contact Waterpik customer support or a qualified technician for inspection.
FAQ
How often should I descale my Waterpik?
Most users benefit from a monthly descaling, or more often if mineral buildup is noticeable.
Can I use vinegar to descale a Waterpik?
Yes, diluted white vinegar is commonly recommended, but follow your model’s guidelines and rinse thoroughly afterward.
How do I know when to replace Waterpik tips?
Replace tips every 3–6 months or sooner if the bristles wear down or there are visible signs of deterioration.
Is it safe to clean the Waterpik brush head with soap?
Yes, use mild dish soap and warm water, then rinse well and air-dry before reusing.
Buying Guide
When selecting a Waterpik cleaning routine and accessories, consider size, noise level, energy efficiency, controls, and placement. For most households, a compact unit with a straightforward control panel offers the best balance of performance and space. If noise is a concern, look for models with insulated housings or quieter pumps. Energy efficiency is typically tied to motor design and cycle duration, so compare estimated running costs. For placement, ensure there is accessible storage for tips and cleaning brushes and that the reservoir is easy to refill. Finally, review compatibility with replacement tips and descaling tablets to keep ongoing maintenance simple and cost-effective.
Leave a Reply