How to Remove Water Rings From Wood Furniture
Water rings and stains on wood furniture can be frustrating, but many issues can be addressed with a careful, DIY approach. This guide outlines practical steps, the right tools, and common-sense precautions to restore wood surfaces without damaging the finish.
Quick Answer
Start with a gentle water stain remover kit designed for wood furniture. If the mark persists, use a furniture repair wax stick to lift light rings, followed by a wood filler epoxy repair kit for deeper rings. Always test any product on an inconspicuous area first and finish with a protective top coat.
What You’ll Need
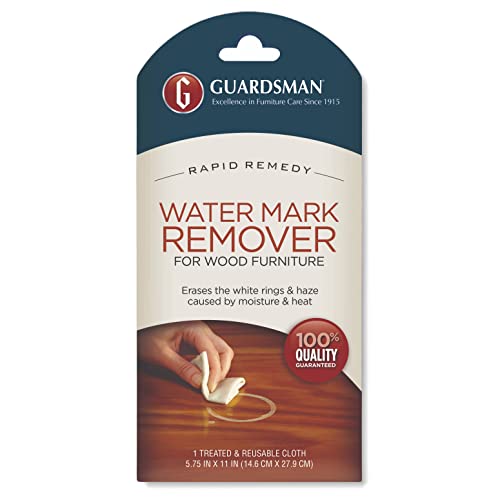
- water stain remover kit for wood furniture
- furniture repair wax stick for water stains on wood
- wood filler epoxy repair kit for water rings on furniture
- Soft, lint-free cloths
- Fine-grit sandpaper or sanding sponge
- Painter’s tape or masking tape
- Wood finish or topcoat compatible with the furniture
- Rubber gloves (optional for protection)


Before You Start
Assess the finish before applying any products. Test in an inconspicuous area to ensure color matching and finish compatibility. Work in a well-ventilated space, and protect surrounding surfaces with tape. Estimate a practical time frame: light rings may take 30–60 minutes, while deeper stains could require multiple steps over several hours or a day for curing between layers.
Step-By-Step: How To Remove Water Rings From Wood Furniture
- Identify the type of ring: pale haze usually indicates moisture trapped under the finish, while dark, embedded rings may require filler and re-coating.
- Clean the area: wipe with a soft cloth to remove dust and surface residues, ensuring a clean working surface.
- Apply the water stain remover kit: follow the product’s instructions, typically using a cloth to gently rub the affected area in the direction of the grain.
- Assess results: if the haze remains, move to the wax stick method for light rings, applying the wax and buffing with a clean cloth until smooth and pale.
- For deeper rings or finish damage, use the wood filler epoxy repair kit: mix as directed, apply into the hollowed area, and smooth the surface with a putty knife.
- Let filler cure: allow adequate time for the epoxy to set according to the product instructions, then lightly sand flush with the surrounding wood.
- Refinish the repaired area: apply a compatible wood finish or topcoat to blend repairs with the surrounding surface, following the product’s drying times.
- Inspect and repeat if needed: some rings require a second pass of stain remover or additional filler and topcoat for a seamless look.
- Final protection: once the surface is even, apply a protective coat or wax to help prevent future water penetration.
- Clean up and cure: wipe away any dust, ensure all products are fully dry before placing items back on the surface.
Troubleshooting
| Symptom | Likely Cause | Fix | Prevention |
|---|---|---|---|
| Rings remain after treatment | Deeper damage or finish penetration | Repeat filler and topcoat steps; consider light sanding and applying stain to even tone | Address moisture promptly; use coasters and moisture barriers |
| Wax feathering around the ring | Over-application of wax | Wipe excess wax and buff with a clean cloth | Apply wax in thin, even layers |
| Finish dulls after treatment | Over-sanding or incompatible topcoat | Reapply a compatible finish; test on scrap or hidden area | Match sheen and finish type to existing surface |
| Color mismatch after epoxy repair | Inaccurate pigment or finish | Reseat color with a compatible stain or dye before final topcoat | Test color on a hidden area first |
Common Mistakes
- Using aggressive abrasives that scratch the surface
- Over-saturating wood with moisture during the removal process
- Skipping a test patch and applying products directly to the visible area
- Neglecting to seal or finish the repaired area, leading to new water damage
These missteps can worsen the appearance or shorten the life of the furniture finish. A careful, measured approach reduces risks and yields a more consistent result.
Tips For Best Results
- Work in thin layers; small, incremental applications often outperform heavy-handed methods.
- Maintain moisture balance by avoiding excessive rubbing when using stain removers.
- Always read and follow the product’s directions for curing times.
- Protect surrounding wood with masking tape to keep edges clean and sharp.
- Consider a final protective topcoat that pairs with the existing finish (polyurethane, varnish, or oil-based sealant).
Call A Professional
Seek professional help if the ring covers a large area, the finish is heavily worn, or the furniture has antique value. Stop-and-go methods can cause irreversible color changes or structural damage. If you notice cracking, peeling, or warping after attempting repairs, professional refinishing is advised.
FAQ
Can I use any water stain remover on all wood finishes?
Most kits are designed for common finishes, but always test on an inconspicuous spot to confirm compatibility.
Will these methods work on varnished surfaces?
Yes, with care, but results vary. Some varnishes may require professional refinishing for best color match.
How long does it take for epoxy fillers to cure?
Follow the product’s guidance; typical curing ranges from a few hours to overnight.
Is it better to sand before applying wax or filler?
Light sanding helps if the surface is rough or the ring is embedded, but avoid aggressive sanding on delicate finishes.
Buying Guide
When choosing products to remove water rings, consider size and scope of the damage, ease of use, and compatibility with existing finishes. Look for clear instructions, color-matching options, and drying times. For frequent water exposure, select durable finishes with water resistance. If comparing products, evaluate how well a kit covers both surface treatments and filler needs, as this minimizes multiple purchases. Consider a multi-step kit that includes a stain remover, wax, and filler for convenience and consistent results. Does the kit align with your furniture type—solid wood vs. veneer—and the maintenance you’re prepared to perform?
Leave a Reply