How to Fix Water Damage on an iPhone Safely
Water exposure can threaten an iPhone’s performance, but careful, methodical steps may reduce damage and improve recovery prospects. This guide explains practical actions, common pitfalls, and when to seek professional help.
Below you will find a concise, action-focused approach tailored for American users who want to address water exposure calmly and effectively.
Quick Answer
Power off the device immediately, remove any cases, dry the exterior, and use a dedicated water damage repair kit to carefully clean and dry the interior. Avoid heat sources, and do not charge until a professional confirms the device is dry. If any corrosion signs appear or the screen remains unresponsive, seek professional assessment.
What You’ll Need
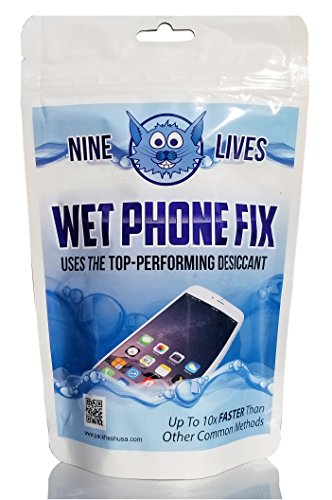
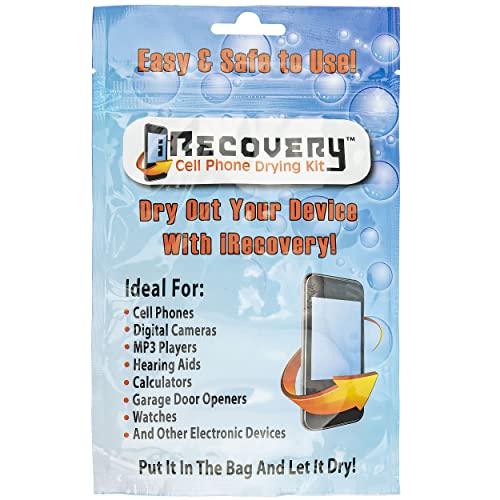
- iPhone water damage repair kit
- iPhone water damage repair tools kit
- iPhone drying and cleaning kit for water damage

Before You Start
Before attempting any repair steps, power off the iPhone and disconnect from chargers or accessories. Remove SIM card if accessible to improve airflow and reduce pressure on internal components. Work in a clean, dry area away from moisture and static. Time estimates vary; allocate 1–2 hours for the initial assessment and cleaning, plus additional time if you plan to visit a service provider.
Critical cautions include avoiding heat sources (hair dryers, ovens, or microwaves) and never charging a visibly wet device. If any battery swelling or corrosion is detected, stop and seek professional help immediately.
Step-By-Step: How To Use Water Damage Tools On An iPhone
- Power off the iPhone completely and disconnect from any power sources.
- Inspect the exterior for signs of liquid intrusion, such as discoloration or moisture around ports.
- Gently remove the SIM tray and, if possible, the SIM card to improve air circulation inside the device.
- Use the iPhone drying and cleaning kit to remove surface moisture from ports, speaker grilles, and the screen edges. Do not insert tools aggressively into openings.
- Apply the kit’s cleaning solution sparingly to avoid liquid seeping deeper. Wipe with a lint-free cloth and ensure no residue remains near connectors.
- For internal drying, follow the kit’s recommended steps to reach internal components without disassembling the iPhone beyond what you are comfortable with. If disassembly is required, consider using the iPhone water damage repair tools kit only if you have service-level training.
- Leave the iPhone to air dry in a well-ventilated area for several hours, ideally overnight. Do not attempt to power it on during this period.
- Reassemble cautiously and reconnect the battery (if applicable) only after thorough drying. Attempt a low-power startup to observe basic functionality.
- Test basic features: power, touch responsiveness, speakers, microphone, cameras, and charging port. Note any glitches or unexpected behavior.
- If issues persist or corrosion signs are present, schedule a professional inspection and consider a formal repair or replacement plan.
- Document any visible damage or error codes to share with a technician for faster diagnosis.
Troubleshooting
| Symptom | Likely Cause | Fix | Prevention |
|---|---|---|---|
| Phone won’t power on | Residual moisture or damaged battery | Ensure full drying time; avoid charging until dry; replace battery if needed | Use protective cases and avoid exposure to water |
| Speaker/mic sound muffled | Water in speaker grill or microphone port | Gentle cleaning with the kit; dry-out and test again | Keep ports clear; dry environment after exposure |
| Charging port not recognized | Moisture in port or corrosion | Clean carefully with kit; wait for complete dry before recharging | Protect ports with caps; dry hands before plugging in |
| Screen unresponsive or erratic | Moisture under display or internal damage | Dry thoroughly; seek professional diagnosis if persists | Avoid quick power cycles; monitor for recurring issues |
| Battery drains quickly | Moisture-related short or battery wear | Professional assessment; battery replacement if necessary | Handle water exposure carefully; consider a waterproof case |
Common Mistakes
- Applying heat to speed up drying, which can warp components
- Trying to charge the phone while moisture is suspected
- Disassembling beyond recommended steps, risking further damage
- Relying on household remedies rather than purpose-built kits
These missteps can worsen water damage or void warranties. Using a purpose-built iPhone water damage repair kit or tools kit designed for electronics can help minimize risk.
Tips For Best Results
- Act quickly but calmly after exposure to maximize recovery chances.
- Air dry in a warm, dry room with good ventilation; avoid direct sunlight or heat sources.
- Store the device in a breathable container with desiccants if immediate professional help is unavailable.
- Document any visible corrosion or screen abnormalities to aid technicians.
- Consider a professional water damage evaluation if basic tests show ongoing issues.
Call A Professional
Reserve professional help if any of the following occur: persistent startup failures, screen still unresponsive after drying, corrosion signs around connectors, or battery swelling. Electric devices with water exposure can pose safety risks; a pro can perform safe disassembly, precise cleaning, and component replacement as needed.
FAQ
Will my iPhone recover completely after water exposure?
Recovery depends on the extent of exposure and timing. Quick action and proper drying can improve outcomes, but some damage may be irreversible.
Can I use a hair dryer to dry the phone?
No. Direct heat can warp components. Use air drying and desiccants, and postpone power until fully dry.
Should I place the phone in rice?
This method is outdated and less effective; desiccants or dedicated drying kits perform better and are safer for internals.
When should I replace the iPhone rather than repair?
Consider replacement if the device shows recurring issues, significant corrosion, or costly repairs outweigh the device’s value and performance.
Is a water damage repair kit enough for a professional outcome?
A kit is useful for initial cleaning and drying, but some damage requires certified diagnostics and component replacement.
Buying Guide
When choosing equipment for addressing water damage on an iPhone, consider size, portability, effectiveness, and compatibility with your device model. This guide highlights key buying factors and how they influence outcomes.
- Size and portability: Compact kits travel well but ensure they include all essential cleaning and drying tools for your iPhone’s ports and internals.
- Desiccants and drying efficiency: Look for desiccant materials and rapid-drying features that minimize moisture retention inside ports and chassis.
- Tool quality and safety: High-quality, non-conductive tools reduce the risk of short circuits during cleaning.
- Compatibility: Ensure the kit is suitable for iPhone models and supports the specific repair tasks you anticipate.
- Safety features: Kits with anti-static properties and clear usage instructions help prevent accidental damage.
- Support and warranties: Reputable brands offer guides, troubleshooting, and warranty protection for tools and kits.
Comparing products, an iPhone water damage repair kit versus an iPhone water damage repair tools kit may come down to bundled components and level of disassembly guidance. For many users, a dependable set that focuses on safe cleaning, careful drying, and clear instructions provides the best balance of affordability and effectiveness. If in doubt, choose a kit with customer reviews that emphasize safe handling and practical outcomes.
Leave a Reply