How to Clean a Sea Sponge Safely and Effectively
Sea sponges are a sustainable alternative for cleaning tasks, but they require proper care to prevent bacteria buildup and odors. This guide walks American readers through simple, practical steps to refresh a sea sponge and extend its life.
Quick Answer
Soaking in warm soapy water, followed by a thorough rinse and air drying, is usually enough to clean a sea sponge. For tough stains or odors, use a mild natural cleaner or vinegar rinse. Always ensure the sponge is completely dry between uses to prevent mold growth.
What You’ll Need
- Natural sea sponge cleaning brush
- Soft bristle scrub brush for sea sponge care
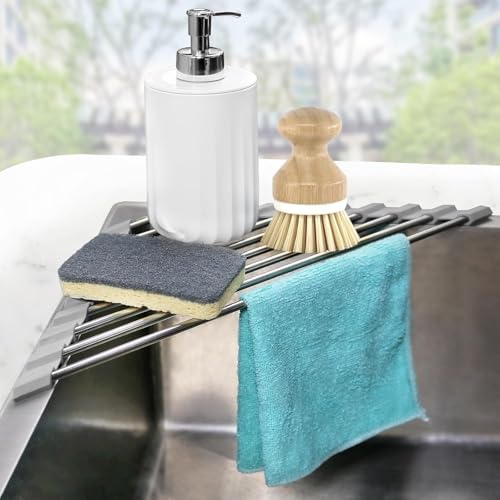
- Sea sponge drying rack

Before You Start
Before cleaning, inspect the sea sponge for tears or holes. Damaged sponges should be replaced. Use lukewarm water and a gentle, non-abrasive cleaner to protect the sponge’s natural fibers. Avoid harsh chemicals that can degrade the sponge and transfer residues to surfaces. Plan for about 15–30 minutes of cleaning and drying time depending on sponge size and conditions.
Step-By-Step: How To Clean Sea Sponge Effectively
- Rinse the sponge under warm running water to remove loose debris.
- Fill a basin with warm water and add a small amount of mild soap or a natural cleaner.
- Submerge the sponge and knead gently to release trapped grime without tearing fibers.
- Rinse thoroughly until all soap is removed and water runs clear.
- For odor or stubborn stains, soak in a solution of white vinegar and water for 10–15 minutes, then rinse.
- Attack tough residue with the soft bristle scrub brush for sea sponge care for targeted spots, using circular motions.
- Press out excess water and place the sponge on a sea sponge drying rack in a well-ventilated area.
- Allow the sponge to dry completely before storing; avoid placing it in direct sunlight for long periods to prevent fiber damage.
- Inspect the sponge after drying. If any odor persists or the texture feels slimy, repeat cleaning or replace the sponge.
- Store in a dry, breathable container or hang to maintain airflow and prevent mold.
- Regularly replace sea sponges when they start to degrade or tear.
Troubleshooting
| Symptom | Likely Cause | Fix | Prevention |
|---|---|---|---|
| Persistent musty odor | Residual moisture or bacteria | Soak in vinegar solution, rinse thoroughly, and dry completely | Dry completely after each use; store in a ventilated area |
| Sponge feels slimy | Soap residue or bacteria | Re-clean with mild soap, rinse until no suds remain | Rinse thoroughly and dry promptly |
| Fibers tearing | Overly rough scrubbing or age | Switch to gentler cleaning and replace if torn | Avoid harsh abrasives; use soft brush for tough spots |
| Stains that won’t come out | Deep staining from minerals or dyes | Soak in diluted vinegar or baking soda solution, then rinse | Rinse promptly after use and avoid prolonged staining substances |
Common Mistakes
- Using hot water that damages delicate sponge fibers
- Leaving the sponge soaking for long periods after cleaning
- Using harsh chemical cleaners that degrade natural fibers
- Storing in a damp, enclosed space that invites mildew
By avoiding these missteps, users can maintain softness and structural integrity of the sea sponge.
Tips For Best Results
- Rinse until the water runs clear to remove all soap residues.
- Alternate cleaning techniques: light scrubbing for maintenance, vinegar soak for odors.
- Hang the sponge or place it on a drying rack to maximize air exposure.
- Label sponges used in different cleaning tasks to prevent cross-contamination.
- Periodically replace sponges to ensure optimal cleaning performance.
Call A Professional
Seek professional cleaning advice if the sponge shows persistent mold, or if you notice a strong chemical smell after cleaning. Replace immediately if any signs of deterioration appear that compromise performance or safety.
FAQ
How often should I replace a sea sponge?
Replace when it shows signs of wear, persistent odor, or loss of absorbency.
Can I clean sea sponges with bleach?
Avoid using bleach on natural sea sponges as it can degrade fibers; opt for mild cleaners or vinegar instead.
Is vinegar safe for sea sponges?
Yes, a diluted vinegar rinse helps sanitize without harming the fibers when used sparingly.
How do I dry a sea sponge quickly?
Place it on a drying rack in a well-ventilated area and avoid tight, enclosed spaces.
Buying Guide
When selecting tools for maintaining sea sponges, consider size, material quality, and ventilation options. A sea sponge drying rack aids fast, even drying, while a natural sea sponge cleaning brush or soft bristle scrub brush for sea sponge care helps tackle embedded grime without harming fibers. Look for brushes with soft, non-abrasive bristles and racks made from rust-resistant materials. For practical cleaning routine, choose products that resist water absorption loss and are easy to sanitize between uses. Ensure replacements are readily available and match your preferred cleaning tasks in the kitchen, bathroom, or craft areas.
Leave a Reply