How to Clean Permanent Marker Stains Safely and Effectively
Permanent marker stains can appear on many surfaces, from walls to desks to fabric. With the right approach, most marks can be lifted or greatly reduced without damaging the underlying material. This guide outlines practical, step-by-step methods using common household tools and proven stain-fighting products.
Quick Answer
Start with a gentle approach: dab or rub the stain with a damp microfiber cloth, then try a melamine sponge. If needed, use a soft-bristle toothbrush for delicate surfaces, and finish with a gentle soap and water rinse. Avoid rubbing aggressively on fragile surfaces to prevent damage.
What You’ll Need
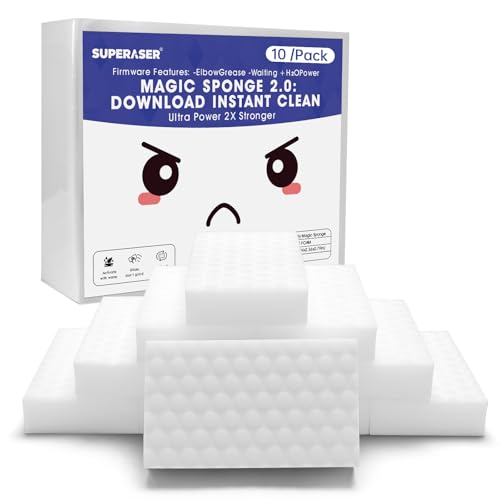
- Magic Eraser melamine sponge for permanent marker stains
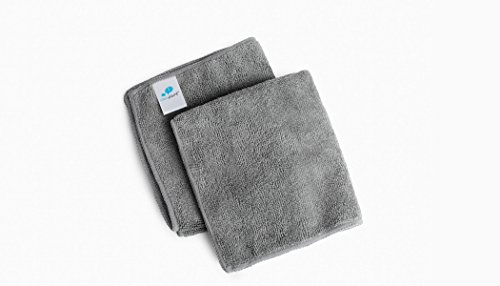
- microfiber cleaning cloth for permanent marker removal
- soft bristle toothbrush for marker stain cleanup

Before You Start
Identify the surface type and test any cleaner in an inconspicuous area first. For painted walls or glossy finishes, use the mildest method and proceed gradually. Protect nearby fabrics and trim with a towel or masking tape to prevent accidental transfer. Time estimates vary by surface; plan for 5–20 minutes per stain, allowing for drying between steps.
Step-By-Step: How To Clean Permanent Marker Stains
- Blot first: Use a clean microfiber cloth to blot the stain gently from the outside in, absorbing as much ink as possible without rubbing it in.
- Test a cleaner: On an inconspicuous area, apply a small amount of cleaner or water to see how the surface responds before treating the stain.
- Melamine sponge: Dampen a Magic Eraser sponge and gently rub the stained area in small circular motions. Frequently check progress to avoid over-smoothing the surface.
- Switch to a microfiber cloth: If the marker is lifting, switch to a dry or slightly damp microfiber cloth to continue removing color without harsh abrasion.
- Toothbrush for detail: For textured surfaces or corners, use a soft bristle toothbrush with light pressure to reach embedded ink. Rinse or wipe away residue as you work.
- Soap and water rinse: Finish with a mild soap solution and a clean cloth to remove residue and restore surface texture.
- Dry and inspect: Allow the area to air dry and recheck. If any stain remains, repeat the steps with a careful approach.
- Alternative methods: For stubborn marks on permanent markers, gentle rubbing alcohol or vinegar can be effective on hard, non-porous surfaces. Always test first.
- Reapply if needed: Some porous materials may require repeated attempts or professional cleaning for complete removal.
- Post-clean care: Consider applying a protective coating or sealant on vulnerable surfaces to prevent future staining.
- Dispose responsibly: Clean tools and cloths after use and store properly for future stains.
Troubleshooting
| Symptom | Likely Cause | Fix | Prevention |
|---|---|---|---|
| Ink spreads or bleeds | Rubbing too hard or using the wrong cleaner | Gently blot with microfiber, switch to a milder agent | Test first; use minimal moisture |
| Surface dulls or scratches | Abrasive rubbing with sponge | Switch to a softer cloth and minimal pressure | Avoid aggressive scrubbing on delicate finishes |
| Color remains after multiple passes | Porous surface soaking ink | Repeat steps with caution; consider professional cleaning for fabrics | Treat promptly to prevent set-in stains |
| Streaks or ghost marks | Smeared ink or residue | Wipe with clean water and re-dry | Rinse tools frequently during cleaning |
Common Mistakes
- Using harsh solvents on painted walls or varnished surfaces
- Gritty scrubbing that damages textures or coatings
- Ignoring test patches and applying cleaners broadly
- Rushing the process on fabric or upholstery, causing set-in stains
Tips For Best Results
- Always start with the gentlest method and progress if needed
- Keep cleaning tools clean and free of ink to avoid spreading stains
- Consider surface type: hard non-porous surfaces respond differently from fabric or wood
- For fabrics, a quick dab with a mild spot cleaner followed by air drying can help
- Document stains before cleaning in case professional help is required later
Call A Professional
Call a professional when stains cover large areas, involve valuable or delicate materials, or if household methods fail after multiple attempts. Seek experts for fabric restoration, wood finishes, or painted surfaces with finished coatings that could be damaged by improper cleaning.
FAQ
Can I use bleach on permanent marker stains?
Bleach can damage fabrics and surfaces; use only on color-safe, non-delicate fabrics and test first.
Is rubbing alcohol safe for all surfaces?
Rubbing alcohol is effective on many hard surfaces but can damage finishes or dyes on some materials. Test a hidden area first.
Will heat set the marker in?
Heat can set or spread ink on some fabrics. Avoid applying heat until the stain is removed.
Can I use a fabric stain remover?
Yes, select a remover compatible with the fabric and follow the product directions, testing first in a hidden area.
What if the marker is on wood?
Use a mild soap solution and a gentle sponge, testing on a small area first to prevent finish damage.
What surfaces are most challenging?
Porous surfaces like untreated wood, fabrics, and paper can be harder to clean and may require professional help.
What about permanent marker on walls?
Start with a melamine sponge or microfiber cloth; avoid aggressive scrubbing to protect paint finishes.
Are there natural methods for marker removal?
White vinegar or lemon juice mixed with water can help on some surfaces, but always test first.
Buying Guide
Choosing cleaning tools and products for permanent marker stains depends on surface type, space, and frequency of stains. Consider these factors to make informed purchases:
- Surface compatibility: Hard non-porous surfaces respond well to melamine sponges; fabrics may require gentle spot cleaners.
- Tool versatility: A combination of microfiber cloths, a soft toothbrush, and a melamine sponge covers most scenarios.
- Ease of use: Look for products that are easy to store and safe for frequent use around kids and pets.
- Durability: Reusable cloths and sponges save money and reduce waste over time.
- Small stains vs. large areas: For larger areas, consider a surface-safe cleaner with clear instructions.
- Drying time: Materials that dry quickly reduce downtime and reschedule tasks.
- Storage and accessibility: Keep cleaners in a dedicated caddy for quick access during cleanup sessions.
When comparing options, weigh the combination of a melamine sponge, microfiber cloths, and a soft toothbrush to create an effective, flexible kit. Are you cleaning a wall, a tabletop, or fabrics? Matching tools to surface needs improves outcomes and protects finishes. If a stain seems stubborn, don’t force a single method—switch to a gentler approach or seek professional assistance to preserve the item’s value and appearance.
Leave a Reply