How to Clean Outdoor Brass Light Fixtures
Outdoor brass fixtures bring classic elegance to a home exterior, but exposure to weather, pollution, and humidity can dull their luster. Proper cleaning preserves finish, improves light output, and extends the life of the fixture. This guide provides practical, step-by-step instructions for safe, effective brass cleaning using common household supplies and purpose-built products.
Quick Answer
Gently remove dirt with warm water and a soft cloth, then use a non-abrasive brass cleaner or a dedicated brass cleaner and polish for outdoor lighting fixtures. Finish with a light wax or protective coating and rinse thoroughly. Avoid harsh abrasives and chlorine cleaners that can damage brass finishes.
What You’ll Need
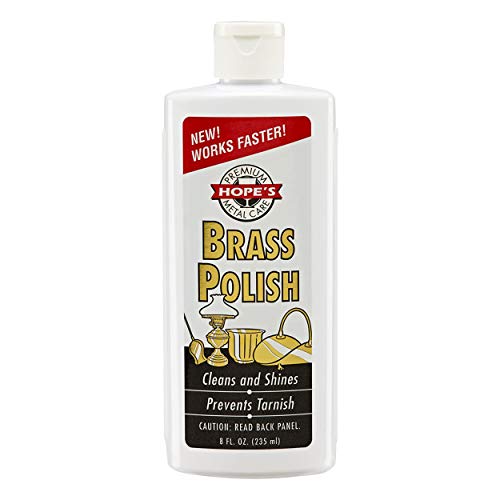
- Brass cleaner and polish for outdoor lighting fixtures
- Soft-bristle cleaning brush for brass outdoor lanterns
- Non-abrasive brass cleaner for exterior light fixtures
- Warm water
- Soft microfiber cloths
- Latex or nitrile gloves
- Masking tape or painter’s tape (optional for delicate areas)


Before You Start
Inspect the fixture for loose parts, corrosion, or damaged wiring before cleaning. Turn off power at the circuit breaker and allow bulbs to cool completely. If the fixture is heavy or mounted in a hard-to-reach location, consider using a stable ladder or consulting a professional. Wear gloves to protect skin and prevent fingerprints on the brass finish. Prepare a small, dedicated workspace with towels to catch drips and a protective surface to prevent staining.
Step-By-Step: How To Clean Outdoor Brass Light Fixtures
- Turn off power and remove the bulb if possible to avoid heat or electric issues.
- Gently wipe the fixture with a damp cloth to remove loose dust and cobwebs.
- Mix a light solution of warm water and a small amount of brass cleaner or use a non-abrasive brass cleaner recommended for outdoor use.
- Apply the cleaner with a soft-bristle brush, working in small circular motions, especially in crevices and detailing.
- Rinse the fixture with clean warm water to remove cleaner residues.
- Dry thoroughly with a microfiber cloth to prevent water spots and oxidation.
- If desired, apply a thin layer of brass polish to restore shine, following the product directions. Buff with a clean cloth until shiny.
- For weathered or tarnished areas, repeat cleaning and consider applying a protective wax or sealant designed for outdoor brass.
- Reinstall bulbs and restore power. Check for uniform brightness and any signs of corrosion after a few days of exposure.
- Periodically repeat cleaning every 6–12 months, or more often in coastal or industrial environments.
- Store any spare cleaning supplies away from children and pets and label products clearly.
Troubleshooting
| Symptom | Likely Cause | Fix | Prevention |
|---|---|---|---|
| Brass looks dull after cleaning | Residual cleaner or oxidation | Wipe with clean water, dry, and re-polish lightly | Use a dedicated brass cleaner and follow directions carefully |
| White spots or pitting | Exposure to harsh cleaners or salt air | Switch to a non-abrasive cleaner and rinse well | Clean regularly and apply protective coating |
| Finish tarnishes quickly after cleaning | Inappropriate product or over-cleaning | Use a product formulated for outdoor brass; avoid over-polishing | Choose a protective sealant and reapply as directed |
| Fixture feels loose after cleaning | Hardware loosened during maintenance | Tighten fittings with appropriate tools | Inspect hardware during cleaning to prevent movement |
Common Mistakes
- Using abrasive pads or strong household cleaners on brass finishes
- Cleaning while the fixture is still hot or powered
- Failing to dry completely, which can promote spotting or corrosion
- Over-polishing, which may wear away delicate patina or protective coatings
Tips For Best Results
- Test cleaner on a small, inconspicuous area first to confirm compatibility with the finish.
- Work in shaded, dry conditions to minimize rapid drying and streaks.
- Use microfiber cloths to avoid lint and streaks on shiny brass surfaces.
- Consider applying a clear protective sealant designed for outdoor metalwork after cleaning.
- Document the cleaning date to establish a consistent maintenance schedule.
Call A Professional
Contact a licensed electrician if there are signs of damaged wiring, cracked or corroded fixtures, or if the fixture is integrated with electrical components that are not easily accessible. Seek professional help if the fixture cannot be safely removed for cleaning or if there is significant rust or structural damage.
FAQ
Is it safe to clean brass outdoor fixtures with household cleaners?
Yes, as long as the cleaner is non-abrasive and suitable for metal finishes; avoid chlorine-based products that can damage brass over time.
How often should outdoor brass fixtures be cleaned?
Typically every 6–12 months, with more frequent cleaning in coastal or high-pollution environments.
Can I use metal polish on outdoor brass?
Yes, use a polish labeled for outdoor brass and follow the product directions to avoid over-polishing.
What if tarnish returns quickly after cleaning?
Consider applying a protective sealant and verify that you are using a non-abrasive cleaner specifically designed for outdoor brass.
Buying Guide
Choosing the right products and setup for outdoor brass lighting involves several factors. Consider the size of the fixture, mounting location, and level of exposure to weather. Noise level is generally not a concern for cleaning products, but the ease of application matters for tall or hard-to-reach lanterns. Energy efficiency is more relevant to the bulbs you pair with the fixture, not cleaners, so plan accordingly. Controls that are frost-proof or dust-sealed help with maintenance in harsh conditions. For placement, ensure fixtures have adequate clearance from vegetation and are rated for exterior use. When comparing products, look for non-abrasive formulas, clear directions for outdoor brass, and compatibility with the finish on your fixtures. If in doubt, test on a small area first and follow manufacturer instructions to preserve the brass’s finish and longevity.
Leave a Reply