How to Clean a Keurig Coffee Maker for Optimal Flavor
Regular cleaning keeps a Keurig brewing correctly and tasting its best. This guide walks through practical steps, using common Keurig-cleaning tools to maintain performance, reduce buildup, and prevent bad-tasting coffee.
Whether you own a single-serve brewer at home or in a small office, routine maintenance helps extend the machine’s life and preserve its efficiency. The approach below focuses on safe cleaning, descaling, and quick checks to keep your morning cup consistently satisfying.
Quick Answer
Descale every 3–6 months using a Keurig descaling solution, clean the needle with the appropriate cleaning tool, and scrub the exterior and removable parts with a suitable brush kit. Rinse thoroughly between steps and run several cleansing brews with water only to finish.
What You’ll Need
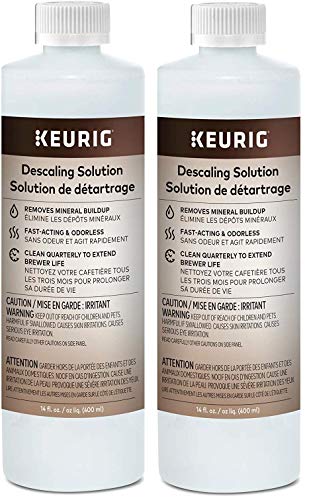
- Keurig descaling solution 20 oz bottle
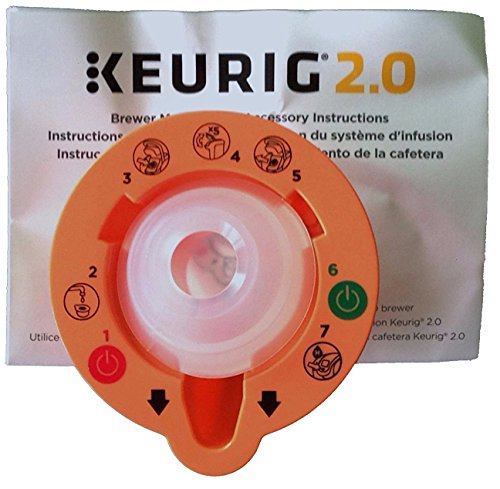
- Keurig coffee maker needle cleaning tool
- Keurig cleaning brush kit for single-serve machines

Before You Start
Disconnect the brewer from power before any disassembly. Empty the water reservoir and remove any pod pods or used grounds. Use fresh water for each cleaning cycle. Avoid harsh abrasives or solvents; never submerge the machine. Expect cleaning sessions to take 30–60 minutes, depending on the model.
Step-By-Step: How To Clean A Keurig
- Empty and rinse the water reservoir; wash it with warm, soapy water if needed, then rinse.
- Fill the reservoir with the cleaning solution diluted according to the bottle’s instructions, or with fresh water if using a rinsing cycle only.
- Run a full brew cycle without a K-Cup to flush the system and remove loose residue.
- Shut off and unplug the brewer, then remove the L-shaped needle and use the needle cleaning tool to clear any clogs in the spray needle.
- Gently scrub the exterior, drip tray, and reservoir lid with the cleaning brush kit for single-serve machines to remove coffee oils and mineral buildup.
- Rinse the reservoir thoroughly, fill with clean water, and run multiple water-only cycles to rinse the internals fully.
- Discard the rinse water until it runs clear, then wipe down the exterior and allow the unit to dry completely before next use.
- Repeat the descaling cycle every 3–6 months or when you notice slower brewing, off-tastes, or mineral buildup.
- For hard-water areas, increase the frequency of descaling and use filtered water to reduce mineral deposits.
- Reassemble all parts, reattach the reservoir, and perform a final test brew with a cup to confirm clarity and flavor.
- Keep a quarterly cleaning schedule and note any changes in performance to adjust cleaning frequency as needed.
Troubleshooting
| Symptom | Likely Cause | Fix | Prevention |
|---|---|---|---|
| Brews slowly | Mineral buildup in lines | Run a thorough descaling cycle | Use filtered water |
| Bad taste | Old coffee oils or residue | Clean with brush kit and run multiple water cycles | Clean monthly if used daily |
| Leaks from reservoir | Improper seating or worn seals | Re-seat parts; inspect gaskets | Handle parts gently during cleaning |
| Clogged spray head | Mineral deposits | Use needle cleaning tool to clear | Flush with cleaning solution regularly |
Common Mistakes
- Using tap water exclusively in hard-water regions without descaling
- Forgetting to rinse thoroughly after a cleaning cycle
- Neglecting the needle and spray head maintenance
- Washing or submerging the machine’s base or electronics
Tips For Best Results
- Schedule descaling every 3–6 months, or more often if you have hard water
- Use a Keurig descaling solution as directed for optimal mineral removal
- Regularly inspect the needle and clean with the proper tool to prevent clogs
- Keep the reservoir clean and free of soap residue between cleanings
Call A Professional
Contact a professional if you notice persistent leaks, persistent clogs after cleaning, or if the unit stops functioning despite routine maintenance. Seek service if the device emits unusual noises, or if electrical concerns arise during cleaning.
FAQ
How often should I descale my Keurig?
Most households should descale every 3–6 months, or more frequently in areas with very hard water.
Can I use vinegar to descale a Keurig?
Vinegar can be used in some models, but many manufacturers recommend using a Keurig descaling solution to protect seals and components.
Is it safe to clean the needle with a brush?
Yes, using a dedicated needle cleaning tool along with a brush is safe and effective when cooled and unplugged.
How many water-only cycles should I run after descaling?
Run 2–3 full water-only cycles, then test with a small cup to ensure flavor is clean and free of residue.
What if my coffee tastes metallic after cleaning?
Rinse thoroughly with several water-only cycles and ensure no cleaning solution remains in the reservoir.
Can I use a dishwasher to clean the removable parts?
Only the dishwasher-safe parts should be washed in a dishwasher if the manufacturer approves; otherwise, wash by hand.
Buying Guide
When shopping for Keurig maintenance tools, consider how often you brew, your water quality, and the machine model. Look for descaling solutions that are compatible with your brewer, and choose a needle cleaning tool and brush kit designed for single-serve machines for better access to hard-to-reach areas. A compact cleaning kit is convenient for travel or office use, while a comprehensive set may suit dedicated home kitchens. Balance cost with longevity and reliability to maintain consistent flavor across brews.
Factors To Consider When Choosing Cleaning Tools
- Size and compatibility with your Keurig model
- Descaling efficacy and mineral removal efficiency
- Ease of use and included accessories
- Durability and material quality
- Water filtration compatibility to reduce mineral buildup
Leave a Reply