How to Clean Brass Fixtures: A Practical Guide for a Brighter Shine
Brass fixtures add warmth and elegance to kitchens, bathrooms, and entryways. Regular cleaning preserves their luster and protects against tarnish. This guide walks through safe, effective methods for bringing brass back to its best, using common household tools and a few purpose-made products.
If brass has lost its glow or shows dull patches, follow the steps below to restore a bright, polished finish without damaging the metal or surrounding surfaces.
Quick Answer
Restore shine in minutes with a gentle polish, then seal with a protective cloth. For tougher tarnish, use a brass cleaning brush and a polishing kit designed for brass fittings. Always test a small area first and avoid harsh abrasives.
What You’ll Need
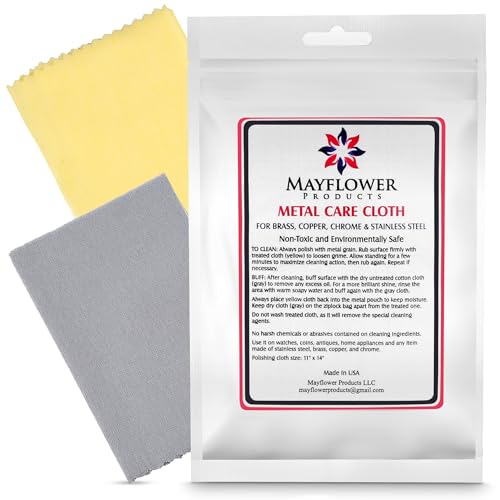
- Brass polishing kit with cream and microfiber cloth
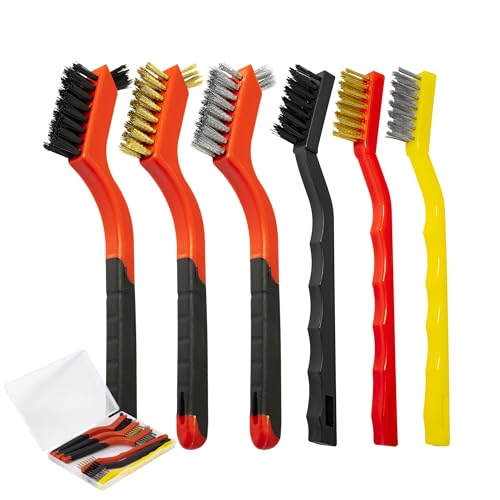
- Nylon bristle brass cleaning brush set
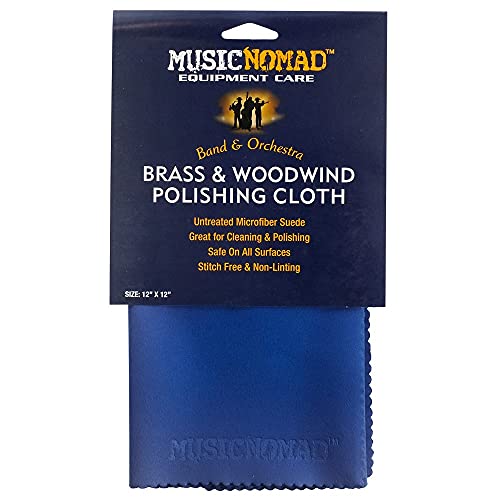
- Microfiber polishing cloth for brass fixtures
Before You Start
Assess the fixture’s surface for coatings, lacquer, or patina. If the brass is lacquered, aggressive polishing can remove the protective coating or alter color; in such cases, consult the manufacturer or proceed with gentler cleaning. Gather towels to protect nearby surfaces and wear gloves to reduce skin contact with cleaning products. Plan for a 15–45 minute cleaning session depending on tarnish level and the number of fixtures.
Cautious notes: never mix acidic cleaners with vinegar or lemon directly on delicate finishes, and avoid abrasive pads that scratch brass surfaces. If the fixture is mounted in a high-distance area or over a sink, protect floors and counters to prevent slips.
Step-By-Step: How To Clean Brass Fixtures
- Begin with a light dusting using a microfiber cloth to remove loose dirt and oils from the brass surface.
- Apply a small amount of brass polishing cream from the kit to a clean microfiber cloth. Work the cream into the surface with gentle, circular motions.
- For stubborn tarnish, use the nylon bristle brass cleaning brush set to agitate the crevices. Brush follows the grain of the metal to avoid scratching.
- Wipe away the cream residue with a clean microfiber polishing cloth, checking for even coverage and a uniform shine.
- If any dull spots remain, repeat the polishing step on those areas, ensuring you don’t over-work the finish.
- Rinse or wipe with a damp cloth to remove any remaining cleaner residues. Dry thoroughly with a soft towel.
- Finish with a final light buff using a microfiber cloth to enhance luster and seal the surface briefly with a protective layer.
- Inspect for shine imbalance, and re-polish as needed on high-visibility areas like faucet fittings or ornate details.
- For ongoing upkeep, wipe fixtures weekly with a microfiber cloth and a drop of polish when needed to prevent new tarnish buildup.
- Store cleaning tools and creams in a cool, dry place away from direct sunlight to maintain their effectiveness.
- Regular cleaning schedules help maintain consistent brightness and reduce deep tarnish buildup over time.
- Document any lacquered areas and avoid further mechanical cleaning on those spots to preserve protective coatings.
Troubleshooting
| Symptom | Likely Cause | Fix | Prevention |
|---|---|---|---|
| Dull patches after cleaning | Polish buildup or uneven application | Reapply cream and buff evenly | Clean small areas at a time; use soft cloth |
| Scratch marks | Using too aggressive brush or abrasives | Switch to gentler brushing; avoid sharp scrubbing | Use non-abrasive pads and test first |
| Discoloration after polishing | Over-application or incompatible finish | Wipe clean and re-evaluate finish compatibility | Spot-test in inconspicuous area |
| Residue left on surface | Cleaner not fully removed | Rinse with damp cloth and dry thoroughly | Follow with final buffing |
| Uneven shine across fixture | Inconsistent pressure or coverage | Polish with consistent circular motions | Divide the task into sections |
Common Mistakes
- Using harsh abrasive pads that scratch brass finishes
- Cleaning lacquered brass with the same method as unlacquered brass
- Rushing the drying process, leaving water spots or streaks
- Over-polishing, which can wear away protective coatings or patina
Taking time to test products on a small area helps prevent irreversible damage and keeps fixtures looking uniform.
Tips For Best Results
- Test any cleaner on a hidden spot before full application.
- Use a dedicated microfiber cloth for polishing to reduce lint and streaks.
- Polish in a well-lit area so you can see dull patches as you work.
- Choose a polishing kit with a gentle formula designed for brass; avoid household cleaners with ammonia or high acidity unless specified as safe for brass.
- Protect surrounding finishes, especially chrome or painted surfaces, by masking them with painter’s tape if needed.
Call A Professional
Consider professional help if brass appears deeply pitted, severely discolored, or if fixtures are antique or lacquered with unclear coatings. Stop cleaning if you notice etched marks, color changes beyond the cleaner’s scope, or if the finish begins to peel. For high-value fixtures or those with sentimental value, a professional refinisher can restore shine while preserving original finishes.
FAQ
Can I use lemon juice on brass fixtures?
Natural acids like lemon juice can tarnish brass more than they help. It’s better to use a purpose-made brass cleaner or a mild polishing cream.
Is brass polish safe for lacquered fixtures?
Not always. Check the product label and test in a hidden area. Lacquered brass may require a gentler approach or avoidance of abrasives.
How often should brass fixtures be cleaned?
Light cleaning weekly with a microfiber cloth is typically sufficient; deeper polishing every few months helps maintain brightness.
What should I do if the brass turns pinkish or bluish after cleaning?
That indicates a chemical interaction; stop cleaning, rinse thoroughly, and consult the product instructions or a professional to avoid further damage.
Buying Guide
When choosing products to clean brass fixtures, consider size and type of fixtures, the level of tarnish, and whether the brass is lacquered. Look for a brass polishing kit with a cream and microfiber cloth for controlled, even application. A nylon bristle brass cleaning brush set helps reach crevices without scratching. A microfiber polishing cloth for brass fixtures provides a final, streak-free buff. Pay attention to ease of use and safety notes, especially if you have stone or stainless steel nearby. For maintenance, select products that are gentle enough for regular use to minimize wear over time.
Leave a Reply