How to Clean a Remote Control Safely
Remote controls collect dust, fingerprints, and grime from daily use. A clean remote not only looks better but also helps buttons function reliably. This guide provides practical, step-by-step methods using common electronics cleaners and protective techniques suitable for most households and devices.
Quick Answer
Best quick method: power off the device, remove batteries, and dust with a microfiber cloth. Use isopropyl alcohol wipes for sticky areas and a small brush for crevices. Finish with a quick blast of compressed air to lift debris from beneath buttons.
What You’ll Need
- Electronics cleaning kit
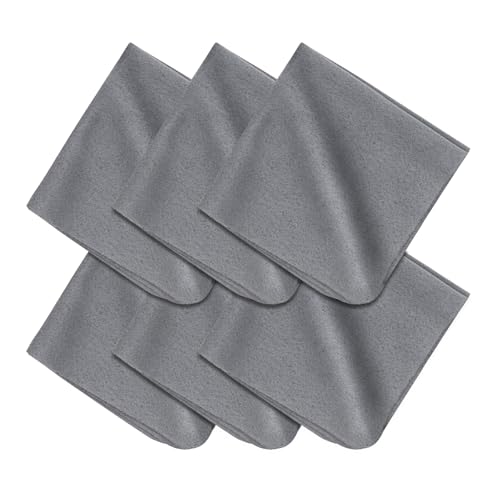
- Microfiber cloths
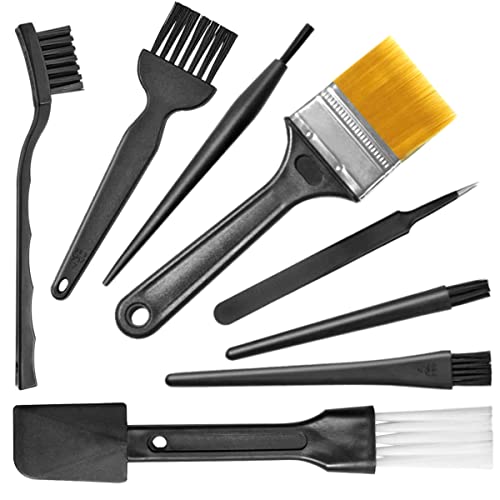
- Soft brushes
- Isopropyl alcohol wipes
- Wipe-safe spray (optional, for non-porous surfaces)
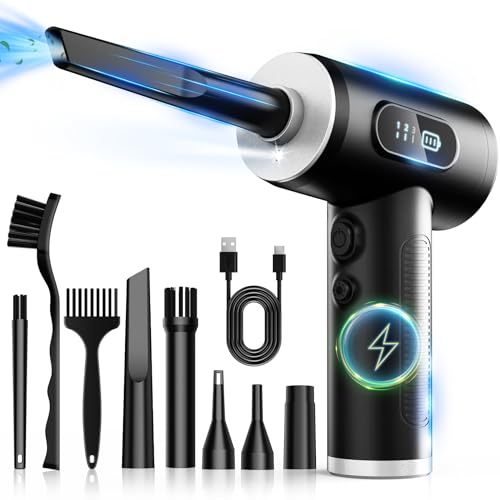
- Compressed air duster for electronics
- An anti-static small cleaning brush set for remote controls
Before You Start
Before cleaning, power off the device and remove batteries to prevent damage or short circuits. Work on a clean, dry surface and avoid harsh solvents on battery compartments or printed labels. Test a small hidden area first to ensure no discoloration. Time estimate: 5–15 minutes, depending on grime level. Do not allow liquid to enter the IR window or speaker openings.
Step-By-Step: How To Clean A Remote Control
- Remove batteries and store them safely to avoid any contact with cleaning materials.
- Use a dry microfiber cloth to wipe the exterior, removing loose dust and fingerprints.
- Lightly dampen a microfiber cloth with isopropyl alcohol (70%–90% is ideal) and wipe the hard, nonporous surfaces.
- For stubborn grime on buttons, wrap a cloth around a small flat tool or use an isopropyl wipe and gently rub in a circular motion.
- Use a soft brush to dislodge dirt from crevices between buttons and around the edges.
- Hold the remote at an angle and use a compressed air duster to lift debris from beneath buttons.
- If the IR window or speaker area has residue, use a clean, dry microfiber cloth or a dedicated wipe designed for electronics.
- Wipe the entire device again with a dry microfiber cloth to remove any residual moisture.
- Reinsert batteries and test the device to confirm all buttons respond properly.
- Store the remote in a dry, cool place away from direct sunlight when not in use.
- If sticky residues persist, consider repeating the steps in a shorter, gentler pass to avoid damage.
- For homes with multiple remotes, establish a routine cleaning schedule to maintain performance.
Troubleshooting
| Symptom | Likely Cause | Fix | Prevention |
|---|---|---|---|
| Buttons feel sticky | Sticky residue or oil | Wipe with isopropyl wipes; repeat if necessary | Clean regularly; avoid food on hands |
| IR sensor not responding | Moisture or residue on sensor window | Gentle wipe with dry microfiber; inspect for residue | Keep sensor clean and dry |
| Remote won’t power device | Battery contacts dirty or corroded | Clean battery contacts and battery compartment | Use fresh batteries; store away from moisture |
| Water intrusion | Excess liquid near internal components | Let dry completely; avoid applying liquids near openings | Handle with care; use minimal moisture |
Common Mistakes
- Using too much liquid or spraying directly on the remote
- Soaking the device or letting moisture reach the battery compartment
- Using abrasive brushes or hard tools that scratch plastics
- Neglecting to dry the device fully before reassembly
Tips For Best Results
- Always start with dry wipes and a soft brush before applying liquids.
- Use isopropyl alcohol with at least 70% concentration for quick evaporation and fewer residues.
- Keep a dedicated electronics cleaning kit for remote controls to prevent cross-contamination with kitchen cleaners.
- Schedule regular quick cleanings to prevent grime buildup rather than heavy, infrequent sessions.
- Test wipes on an inconspicuous area first to avoid discoloration.
Call A Professional
Consider professional help if the remote shows signs of internal moisture, overheating, or recurring failure after cleaning. Stop attempting fixes if you notice cracked housing, corrosion around battery contacts, or a failure to respond after multiple cleanings.
FAQ
Can I use hydrogen peroxide to clean a remote?
It’s best to avoid hydrogen peroxide on most plastic remotes as it can cause discoloration over time. Stick to isopropyl alcohol or manufacturer-recommended cleaners.
Is it safe to spray cleaners directly on a remote?
No. Spray only onto a cloth. Direct spraying can seep into openings and damage electronics.
How often should I clean my remote?
Light cleaning every 1–2 weeks is typically sufficient, with a deeper wipe every 1–3 months depending on usage and spills.
What if my remote still sticks after cleaning?
It might be due to degraded button membranes or internal grime. Consider professional inspection if repeated cleaning doesn’t help.
Are anti-static brushes useful for remote cleaning?
Yes. Anti-static brushes can safely remove dust from crevices without abrading plastic or creating static buildup.
Buying Guide
Choosing the right tools for remote cleaning helps extend device life and maintain performance. Consider these factors:
- Size and compatibility: Ensure the cleaning kit includes small brushes and microfiber cloths suitable for compact remotes.
- Noise level: In the context of a clean environment, using a soft brush and compressed air should be quiet and non-intrusive.
- Energy efficiency and safety: Rely on battery-safe cleaners and non-flammable solvents; avoid harsh chemicals that harm plastics.
- Controls and placement: A compact kit with a dedicated wipe and brush keeps all tools within reach for quick sessions.
- Placement and storage: Store cleaning supplies away from children and pets, and keep remotes readily accessible but protected from spills.
When comparing kits, look for bundled microfiber cloths, anti-static brushes, isopropyl alcohol wipes, and a compressed air duster designed for electronics. A versatile kit that covers both routine cleaning and stubborn grime will serve best for households with multiple remotes and devices.
Leave a Reply