How to Remove Swirl Marks From Your Car
Swirl marks are a common problem that can dull a vehicle’s paint, especially on dark or metallic finishes. This guide explains practical steps to reduce or eliminate those light scratches and restore a smooth, glossy look using consumer-grade polishing tools and compounds.
With the right technique and the right products, most swirl removal can be accomplished at home. This article focuses on safe methods suitable for everyday users and American driveways, while emphasizing product choices that align with common car care kits.
Quick Answer
Use a dual action polisher with 6 inch microfiber pads to apply a paint swirl remover compound kit in a slow, overlapping pattern. Work in small sections, wipe off residue, and inspect under good lighting. If swirls remain, repeat with a fresh pad or adjust compound aggressiveness.
What You’ll Need
Gather these tools and supplies before you begin. The list prioritizes items and product keywords commonly used for swirl removal:
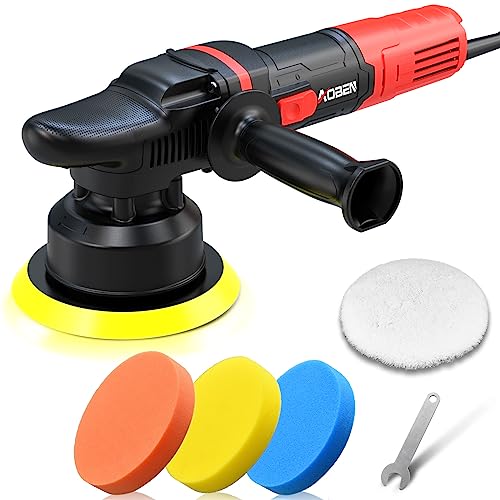
- Dual action car polisher 6 inch kit with microfiber pads
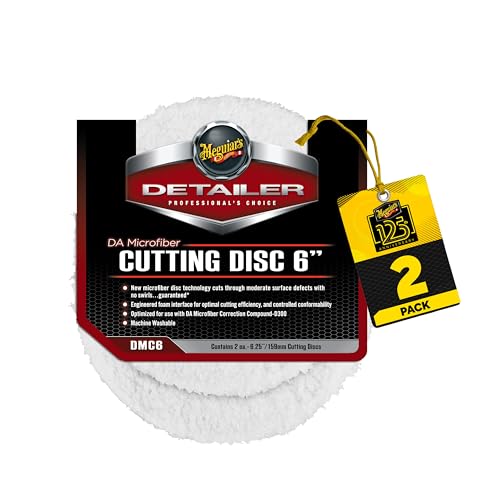
- 6 inch microfiber polishing pads set for car swirl removal
- Paint swirl remover compound kit for car polishing and scratch correction

Before You Start
Preparation is key for effective swirl removal. Park in a shaded area and wash the car thoroughly to remove surface dirt. Dry completely, then use a clay bar if your paint feels rough. Inspect the paint under bright light or a sun-imitating lamp to identify the depth and spread of swirls. Protect nearby trim and plastics with painter’s tape where applicable. Time estimate: 60–90 minutes for a typical sedan, plus extra for corners and wheels.
Step-By-Step: How To Remove Swirl Marks From Your Car
- Set up the polisher on a low speed, attach a clean microfiber pad, and prime the pad with a small amount of swirl remover compound.
- Apply a small, even bead of compound to one section of the panel, usually a 2’ x 2’ area.
- Work the compound into the paint with slow, overlapping passes, maintaining firm but controlled pressure; keep the polisher moving to avoid heat buildup.
- Wipe away residue with a clean microfiber cloth after a short polishing cycle and inspect for remaining swirls.
- Switch to a fresh microfiber pad if the pad becomes loaded with compound or shows wear; this helps maintain consistent results.
- Repeat the process on all sections, moving from one panel to the next, and cross-check for even gloss and uniform texture.
- If stubborn swirls remain, switch to a slightly more aggressive compound or pad texture, using lighter pressure and shorter passes.
- Finish with a fine-cut polish or finishing pad to refine the surface and remove any micro-micro scratches.
- Wipe down the panel thoroughly and inspect brilliance under lighting; correct any missed areas with targeted passes.
- Apply a dedicated wax or sealant to protect the newly corrected surface and extend the results.
- Clean and store tools properly after use, and replace pads as they wear out to avoid introducing new scratches.
- Document which technique delivered the best results so future touch-ups go faster.
Troubleshooting
| Symptom | Likely Cause | Fix | Prevention |
|---|---|---|---|
| Swirls remain after first pass | Insufficient aggressiveness or pad loading | Switch to a more suitable pad or adjust the compound amount | Use fresh pads and moderate, consistent pressure |
| Hazy appearance or halos | Residual compound or improper wipe | Wipe with a clean microfiber and re-polish | Work in small sections and remove all residue |
| Pad glazing or clogging | Over-application of compound or dirty pad | Clean or replace the pad; use a lighter touch | Maintain pad cleanliness during the session |
| Paint etched or holographic look | Too aggressive technique or contaminated pad | Switch to a finishing stage and re-check with light | Practice on a test spot and use proper technique |
Common Mistakes
- Overworking a single area, which can heat the paint and cause damage
- Using dirty or worn pads that scratch rather than polish
- Starting with a pad or compound that is too aggressive for the finish
- Neglecting to wipe away residue before inspecting results
Tips For Best Results
- Test on a hidden panel to gauge the product’s aggressiveness before treating the entire car.
- Keep the polishing area cool; if the surface feels warm, pause to let it cool.
- Maintain an even panel temperature by moving the polisher steadily and avoiding dwell time in one spot.
- Use a finishing pad with a light touch to refine the surface after removing swirls.
- Follow with a protective layer such as wax, sealant, or ceramic coating for longevity.
Call A Professional
Consider professional help if the paint has deep scratches, oxidation, or clear coat failure beyond routine swirl removal. Stop and seek a pro if:
- The swirls persist after multiple passes with standard compounds.
- The finish shows runs, inclusions, or color changes that indicate deeper damage.
- You’re unsure about the type of clear coat or the correct product formulation for your car.
FAQ
What is the best method for removing swirl marks on dark paint?
The best method combines a dual action polisher with appropriate microfiber pads and a dedicated swirl remover compound to minimize haze while restoring gloss.
Can I use household polishes to remove swirls?
Household polishes are not ideal for automotive finishes and can cause uneven results. Use purpose-built car detailing compounds and pads.
How do I know when I’m done polishing a section?
Inspect under bright light and look for uniform reflection, absence of hazing, and no visible swirls.
Are there safe alternatives if I don’t own a polisher?
Yes, you can use hand-applied polish with a soft applicator, but the results may require more effort and time.
How often should I repeat swirl removal on the same car?
Only as needed when new swirls appear or after washing methods reveal micro-scratches; over-polishing can wear clear coat.
Is a sealant or wax necessary after swirl removal?
Yes, applying a protective layer helps prevent new swirl marks and preserves the corrected finish.
Buying Guide
When choosing gear for swirl removal, consider several factors to balance performance, cost, and ease of use.
- Size and type of polisher: A 6-inch diameter system is common for hobbyists and offers a good balance of control and coverage on most vehicles.
- Pad materials: Microfiber pads are forgiving and effective for swirl removal; consider a set that includes finishing pads for final polishing.
- Compound aggressiveness: Start with a moderate compound; deeper flaws may require a more aggressive formula or a dedicated scratch remover kit.
- Noise and vibration: Look for tools with good balance and vibration control for comfort during longer sessions.
- Energy efficiency: Electric polishers vary in power draw; choose a model that fits your outlet setup and usage pattern.
- Controls and ergonomics: A comfortable grip, reasonable weight, and intuitive speed control help sustain quality results.
- Placement and workspace: Work in a clean, shaded area with adequate lighting; a portable setup is ideal for driveway use.
- Maintenance: Replace pads regularly and clean the buffer to extend tool life and prevent new scratches.
Would you rather start with a comprehensive kit or mix-and-match products? A dual action car polisher 6 inch kit with microfiber pads paired with a paint swirl remover compound kit for car polishing and scratch correction often delivers the most consistent results for beginners and enthusiasts alike. If you want speed and consistency, the 6 inch microfiber polishing pads set for car swirl removal pairs well with the polishing compound to finish with a high-gloss shine.
Leave a Reply