How to Clean Spa Cover: Quick and Effective Methods
Maintaining a clean spa cover protects your hot tub from debris, prolongs its life, and keeps the water happier. This guide walks through proven steps to clean and maintain spa covers using common tools and safe methods suitable for American homes and climates.
Quick Answer
For best results, routinely wipe the surface with a vinyl-safe cleaner, focus on air vents and seams, and protect the cover from direct sunlight to slow fading. Use a dedicated spa cover cleaning spray for regular maintenance and a brush designed for vinyl to remove dirt without scratching.
What You’ll Need
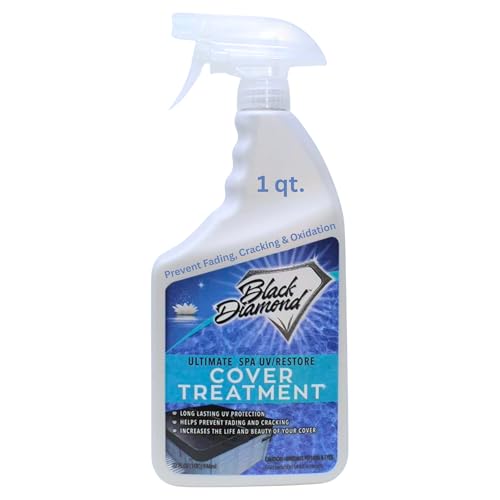
- vinyl spa cover cleaner spray or a mild soap designed for vinyl surfaces
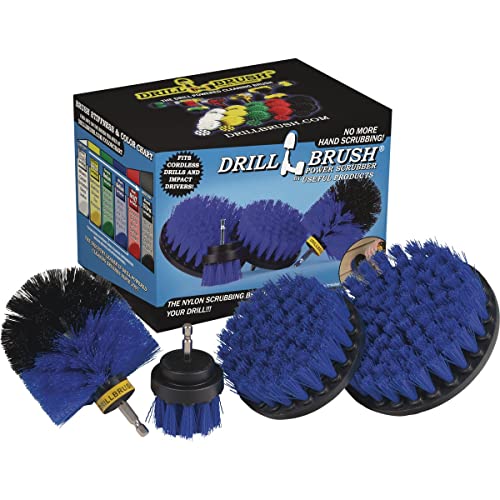
- hot tub spa cover cleaning brush vinyl or a soft-bristle brush
- Water source (hose or spray bottle)
- Microfiber cloths or soft towels
- Drying rack or a clean, shaded area for air drying
- Protective vinyl conditioner (optional)

Before You Start
Prepare a well-ventilated workspace and place the spa cover on a flat, clean surface. Remove any accessories or stakes that might snag cleaning tools. Safety note: never submerge the cover in water or use harsh solvents that can degrade vinyl. Plan for a 30–60 minute cleaning session, depending on the cover size and condition. If your cover has heavy mold or cracking, proceed with caution and consider professional help for extensive restoration.
Step-By-Step: How To Clean Spa Cover
- Remove the spa cover from the hot tub and place it on a clean, dry work surface.
- Rinse the cover with a gentle spray to loosen surface dust and debris.
- Spray the vinyl spa cover cleaner evenly across the top, sides, and around the vents.
- Use the hot tub spa cover cleaning brush vinyl to scrub in circular motions, paying attention to seams and grommets.
- Wipe away residue with a microfiber cloth, switching to damp, then dry sections to prevent streaks.
- If you notice stubborn stains, reapply cleaner and let it dwell for a few minutes before scrubbing again.
- Rinse the cover lightly with water to remove any remaining cleaner, ensuring no pooling fabric stays damp.
- Dry the cover thoroughly with a clean towel, then allow it to air-dry in a shaded area before reinstallation.
- Apply a light coat of vinyl conditioner (optional) to restore flexibility and protect against UV damage.
- Reassemble any removed components and place the cover back on the spa to finish.
- Inspect periodically for cracks, UV wear, or mildew and address promptly to extend life.
Troubleshooting
| Symptom | Likely Cause | Fix | Prevention |
|---|---|---|---|
| Streaks or smears after cleaning | Uneven cleaning or residue | Wipe with a clean microfiber cloth dampened with water; reapply cleaner if needed | Use microfiber cloths and rinse thoroughly |
| Faded color or cracking | UV exposure or aging vinyl | Apply vinyl conditioner if advised by product, consider replacing the cover | Use UV-protective color or shade when possible |
| Persistent mildew or odor | Moisture retention | Ensure complete drying; use a mildew-treated vinyl spray if recommended | Dry thoroughly after cleaning and keep dry when not in use |
| Ridges or stiff edges after cleaning | Overheating during drying or improper conditioning | Air-dry in shade; avoid direct heat sources | Store in a ventilated area |
Common Mistakes
- Using abrasive brushes or harsh solvents that scratch or degrade vinyl
- Soaking the cover or leaving it wet for extended periods
- Skipping drying, which encourages mold and mildew
- Using household cleaners not designed for vinyl surfaces
To avoid issues, stick with products labeled for vinyl spa covers and follow label directions carefully. A gentle routine cleans more effectively than aggressive scrubbing infrequently.
Tips For Best Results
- Clean at least every 3–6 months, or more often if the spa sees heavy use or pollen accumulation
- Clean from top to bottom to prevent dirty water from migrating onto dry areas
- Inspect seams and vents during each cleaning for signs of aging or water intrusion
- Store or prop the cover open to air-dry fully before reusing
- Consider using a cover lift tool for easier removal and reduced strain on the cover hinge
Call A Professional
Seek professional help if the vinyl shows deep cracking, warping that affects fit, or persistent mold despite cleaning. If the cover is heavy or awkward to move safely, a professional can assist with handling and replacement to prevent injury.
FAQ
What is the best cleaner for a spa cover?
A vinyl-specific spa cover cleaner spray is recommended for safe, effective cleaning on vinyl surfaces.
How often should I clean my spa cover?
Regular maintenance every 3–6 months is typical, with more frequent cleaning during high pollen seasons or heavy use.
Can I use a regular household soap?
Use mild cleaners formulated for vinyl rather than harsh detergents to avoid damage.
Do I need to condition the spa cover?
Conditioning is optional but can help maintain flexibility and UV resistance over time.
Buying Guide
When selecting products and accessories for spa cover care, consider size, material, and climate. Start with a vinyl spa cover cleaner spray and a hot tub spa cover cleaning brush vinyl to establish a routine that minimizes grime buildup. If the cover is heavy or difficult to lift, a spa cover lift tool for hot tub can reduce strain and extend the life of hinges and edges.
Key buying factors include:
- <bSize and fit: Measure your spa cover to ensure the cleaner and brush reach seams and vents without damage.
- <bNoise and ease of use: Choose tools and cleaners that are easy to apply and won’t create a mess or noise near living areas.
- <bEnergy efficiency: A well-maintained cover insulates better, reducing energy use for heating.
- <bControls and application: Look for spray bottles with adjustable nozzles and brushes with non-scratch bristles.
- <bPlacement and storage: Clean and dry in a shaded area away from direct sun; store cleaners upright in a cool place.
Thinking about durability and ongoing maintenance helps in choosing products that keep spa covers looking fresh and performing well for years.
Leave a Reply