How to Clean Vented Leather Seats in a Car
Vented leather seats combine comfort with style, but their perforations can trap dirt and sweat, making cleaning a bit more delicate than non-perforated leather. This guide provides a practical, step-by-step approach to restore look and feel while protecting the leather’s texture and finish. Using a targeted leather care routine helps preserve color, prevent cracking, and extend the life of your car’s interior.
Quick Answer
Before you start, remove loose debris with a soft brush, apply a dedicated leather cleaning kit using a microfiber cloth, then condition and protect with UV-safe leather conditioner. Work in small sections, avoid soaking the perforations, and allow ample drying time between steps.
What You’ll Need
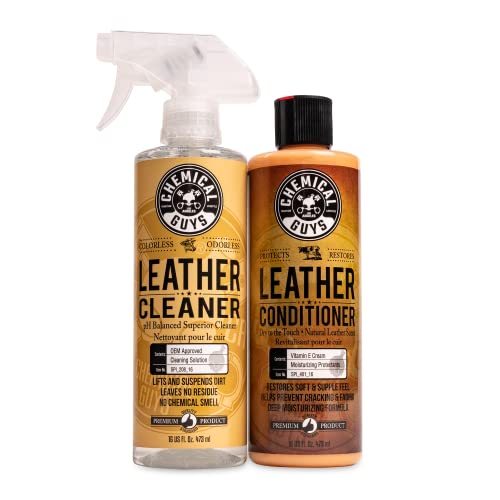
- Leather car seat cleaning kit with conditioner
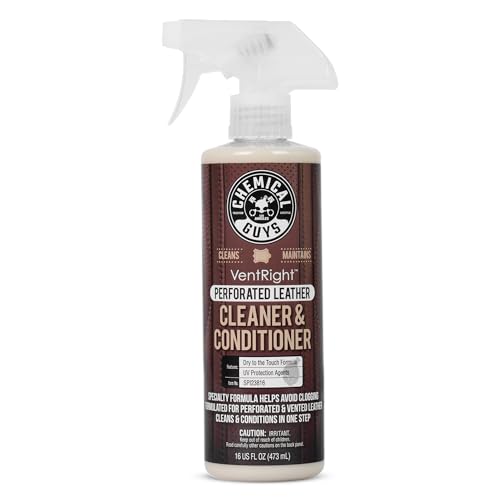
- Automotive leather seat perforated cleaning spray
- Leather conditioner with UV protectant for cars

Before You Start
Surface prep is crucial. Vacuum the seats to remove loose crumbs, then use a soft brush to lift surface dust from perforations. Test all products on a discreet corner before full application. Work in a shaded area to prevent product drying too quickly. Time estimate: 30–60 minutes for a full set of seats, plus 15–20 minutes for drying between steps. Important: avoid harsh brushes or saturating leather; perforated panels can trap moisture that leads to staining or mold if not properly dried.
Step-By-Step: How To Clean Vented Leather Seats
- Prepare a small, hidden area with a damp microfiber cloth to check for color fastness, then proceed in a hidden or seam area.
- Spray a light mist of the perforated leather cleaning spray onto a microfiber cloth, not directly onto the seat, to control saturation.
- Wipe the perforated sections with gentle, even strokes, following the natural grain of the leather to lift dirt from the holes.
- For crevices around stitching, use a soft detailing brush to dislodge embedded debris without scratching the surface.
- Apply a thin layer of leather conditioner with UV protection to the entire seat, focusing on the seat faces and reinserting the moisture into the leather fibers.
- Massage the conditioner into the leather with a clean microfiber cloth to ensure even distribution and penetration, avoiding pooling in perforations.
- Let the conditioner sit for the time recommended by the product, then buff with a dry cloth until the surface shines lightly.
- Revisit any stubborn spots with the leather cleaning kit, repeating in small, controlled passes until clean.
- Use a second dry cloth to remove any remaining moisture from perforated areas, ensuring airflow can dry out moisture trapped in holes.
- Place the vehicle in shade or use a fan to accelerate drying; avoid direct sunlight until the seats are fully dry to prevent color fading or cracking.
- Inspect for uniform color and texture; if needed, apply a second light coat of conditioner and allow to cure.
- Maintain a regular cleaning cycle to prevent buildup and preserve the perforated texture of the seats.
Troubleshooting
| Symptom | Likely Cause | Fix | Prevention |
|---|---|---|---|
| Sticky feel after cleaning | Over-application of cleaner or conditioner | Wipe gently with a clean microfiber and remove excess product | Use small amounts and follow product directions |
| Discoloration after cleaning | Cleaner not color-safe or excessive saturation | Rinse area with light water mist and blot dry | Test first; choose color-safe formulas |
| Perforations still dirty | Dirt lodged deep inside holes | Use a soft brush with minimal moisture | Regular maintenance to prevent buildup |
| Leather drying unevenly | Direct sun or heat, or heavy product in one area | Move to shade; ensure even coverage and airflow | Dry in controlled environment |
Common Mistakes
- Using harsh cleaners or solvents that strip protective finishes
- Over-saturating perforated seats with liquid cleaners
- Rubbing aggressively in perforations, causing scuffs or tears
- Skipping a test patch, risking color bleed or damage
These missteps can compromise leather quality and shorten its lifespan. A disciplined routine with the right products minimizes risk and keeps vented seats looking uniform.
Tips For Best Results
- Schedule cleaning after a short drive rather than when seats are hot, to avoid rapid moisture evaporation that can leave streaks.
- Use microfiber cloths exclusively; they lift dirt without scratching.
- Work in small sections and maintain a consistent motion to prevent patchy results.
- Choose products with UV protection to slow color fading from sun exposure.
- Store cleaning supplies out of direct sunlight for longer shelf life and stability.
Call A Professional
If leather shows deep cracking, persistent staining, or dye transfer from upholstery, seek professional service. Signs to stop and get help include extensive color fading, leather stiffness, or foul odors that cannot be remedied with standard cleaning. A pro can assess seat structure, color integrity, and apply advanced conditioning or dye restoration without risking further damage.
FAQ
Can I clean vented leather seats with a regular household cleaner?
No. Regular cleaners may contain harsh chemicals that can break down leather finishes and remove color. Use dedicated leather cleaning products designed for automotive use.
Is a UV protectant conditioner necessary for car leather?
Yes. UV protectants help prevent sun damage, fading, and cracking, extending the life of perforated leather seats.
How often should I clean vented leather seats?
Light cleaning monthly with deeper conditioning every 3–6 months is a good baseline, increasing frequency if the vehicle sees heavy use or is exposed to sunlight.
What should I do if dye transfers from clothing onto perforated leather?
Act quickly by blotting with a clean cloth and using a color-safe leather cleaner; professional help may be required for stubborn dye.
Can I use a steamer on vented leather seats?
Steam can risk soaking the leather; use only leather-safe sprays and microfiber methods unless the manufacturer approves steam cleaning.
How do I protect the seats after cleaning?
Apply a conditioner with UV protection in a thin, even layer and buff until dry, then avoid heavy moisture exposure for 24 hours.
Buying Guide
When choosing products for vented leather seats, consider several factors to optimize results and protect investment.
Size and coverage: Ensure the kit and conditioner cover both front and rear seats as needed. Larger vehicles may require multiple bottles or two-step systems.
Noise level: Some spray applicators can produce a hiss or noise that might bother passengers. Look for low-noise spray bottles or pump applicators.
Energy efficiency: Not a direct factor for cleaning products, but choosing concentrate formulas can reduce shipping weight and packaging waste.
Controls and ease of use: Choose spray bottles with fine mist settings and non-acidic cleaners that are easy to wipe off and less likely to leave residue in perforations.
Placement: Perforated panels require careful handling; select products labeled safe for perforated leather and follow application guidelines to avoid moisture pooling.
Materials compatibility: Verify that the kit includes a conditioner with UV protection compatible with car leather, and that the cleaning spray is formulated for automotive leather.
Maintenance plan: A simple, repeatable routine helps keep vented seats looking new. Consider a bundled solution that provides both cleaner and conditioner for ongoing care.
Leave a Reply