How to Clean Kegerator Lines for Fresh Tasting Drafts
Regular cleaning of kegerator lines is essential for maintaining beer quality and preventing flavor issues. Clean lines remove buildup from CO2, beer residue, and sanitizing residues that can affect aroma and mouthfeel. This guide walks American users through a practical, step-by-step process using common tools and safe cleaning practices.
Whether you’re a homebrew enthusiast or simply keeping a home bar in top shape, knowing how to clean kegerator lines helps ensure each pour tastes as fresh as the first. The steps below emphasize safety, efficiency, and repeatable results.
Quick Answer
What to do fast: Disconnect the keg, flush with clean water, mix a sanitizer solution per the product manufacturer’s instructions, run the solution through the lines with a cleaning kit, rinse until no sanitizer remains, and reassemble. Sanitize all components and test pour a small sample before serving.
What You’ll Need
- Beer line cleaning kit 3/16 inch tubing with hand pump
- Kegerator beer line cleaning kit with 3/16 hose adapter
- Stainless steel beer line brush 3/16 inch inner diameter

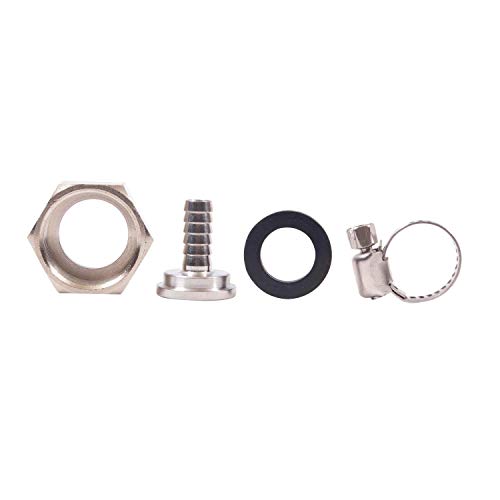
Before You Start
Prepare the workspace and equipment to prevent contamination. Clear the area around the kegerator, have towels handy, and ensure the refrigerator is unplugged during any wiring or gasket work. Time estimate: 45–90 minutes for a full cleaning, longer if you have multiple taps. Key cautions: never skip sanitizing stages, never mix cleaners unless the manufacturer specifies, and avoid using abrasive tools that could scratch beer lines.
Step-By-Step: How To Clean Kegerator Lines
- Disconnect all gas and beer connections from the keg and close any ball valves.
- Remove the faucet and any draft hardware from the kegerator to expose the line entry points.
- Rinse the lines with clean water using the beer line cleaning kit 3/16 inch tubing with hand pump to flush residual beer from the line.
- Prepare the cleaning/sanitizing solution according to manufacturer instructions, using the kegerator beer line cleaning kit with 3/16 hose adapter for compatibility with your tubing.
- Attach the cleaning kit to the beer line and slowly pump the solution through the line. Move from keg side toward the faucet to dislodge settled residues.
- Let the cleaning solution sit as recommended (usually a few minutes) to disinfect the interior of the lines.
- Rinse thoroughly with clean water to remove all traces of sanitizer. Run water through until the taste tests show no residual cleaning agents.
- Reinstall the faucet, reattach gas lines, and run water or beer through a few test pours to verify flow and cleanliness.
- Inspect lines with the stainless steel beer line brush 3/16 inch inner diameter for any stubborn buildup; scrub the exterior of accessible lines carefully before final reassembly.
- Establish a routine: clean lines every 2–4 weeks, or more frequently if you change beer styles or brew batches often.
- Document maintenance dates and any issues observed to optimize future cleaning sessions and ensure consistent performance.
Troubleshooting
| Symptom | Likely Cause | Fix | Prevention |
|---|---|---|---|
| Flat or off-tasting beer after cleaning | Incomplete rinse; sanitizer residual | Rinse thoroughly with multiple water passes | Rinse until no taste remains |
| Slow pouring or foaming | Line buildup or improper line diameter | Inspect with brush; remove buildup; ensure proper tubing | Regular cleaning schedule |
| Clogs after reassembly | Debris from faucet or connectors | Disassemble and brush interior surfaces | Keep work area clean; sanitize components |
| Weak beer flow after long idle | Air leaks or loose fittings | Check clamps and connectors; reseal as needed | Periodic inspection of fittings |
Common Mistakes
- Using the wrong cleaning product for your tubing size
- Rushing the rinse step and leaving sanitizer behind
- Neglecting to clean faucet components and shanks
- Reusing dirty brushes or rags on accessible lines
Avoid these pitfalls by keeping a dedicated cleaning kit with appropriate attachments and labeling parts for quick identification during routines.
Tips For Best Results
- Mark a cleaning schedule visible on the kegerator to stay consistent.
- Pre-warm cleaning solutions slightly (within manufacturer guidelines) to improve residue removal.
- Use the stainless steel brush to check interior surfaces without causing scratches.
- Rinse thoroughly and run a small amount of beer through after sanitation to check flavor integrity.
- Keep spare gaskets and clamps on hand to reduce downtime during maintenance.
Call A Professional
Consider calling a pro if you notice persistent off-flavors that you cannot eliminate after multiple cleaning cycles, if you have persistent leaks at fittings, or if the kegerator shows electrical or refrigeration issues during disassembly.
FAQ
How often should I clean kegerator lines?
Most homes clean lines every 2–4 weeks, or after switching beer styles. Adjust frequency based on usage and observed cleanliness.
Can I clean with dish soap?
Avoid dish soap; use manufacturer-approved cleaners or sanitizers designed for beer lines to prevent flavor contamination.
What if the beer still tastes off after cleaning?
Rinse the system again, inspect for clogged lines, and consider replacing gaskets or fittings if wear is evident.
Do I need to sanitize after every cleaning?
Yes, sanitize according to product instructions to prevent microbial growth and ensure clean pours.
Buying Guide
Choosing the right gear for cleaning kegerator lines involves several factors that affect performance and ease of use. Consider line diameter, compatibility with your hose adapters, and the overall kit design. For American homes, a kit that includes 3/16 inch tubing with a hand pump offers a practical balance between cost and effectiveness. Look for stainless steel brushes that fit the tubing size to maintain line interior cleanliness. The ability to quickly attach and detach components without leaks is important for regular maintenance.
Key buying factors to evaluate include size and weight for easy storage, noise level during operation, and compatibility with your existing kegerator taps. Energy efficiency matters less for the cleaning cycle itself, but reliable hand pumps minimize effort during cleaning. Evaluate controls for simplicity and ensure the kit supports multiple hose adapters if you plan to clean more than one line type. For placement, choose a clean, dry area with ample ventilation to prevent moisture buildup and to maintain a sanitary work environment.
When comparing options, consider durability and warranty, availability of replacement parts, and customer reviews on real-world performance. If you frequently swap beer styles or host gatherings, a robust cleaning system with a dependable brush and multiple adapters can save time and preserve beer quality.
Leave a Reply