How to Clean a Mouse Sensor Safely
Keeping the sensor on a computer mouse clean is essential for accurate tracking and smooth cursor movement. This guide outlines a safe, practical approach for most consumer mice, using common electronics cleaning tools. Follow these steps to avoid damage to the sensor or internal components while restoring reliable performance.
Clean sensors respond to careful attention. For best results, use light, controlled motions and avoid soaking any part of the device. This article uses practical methods suitable for typical office or home setups and references common cleaning tools available in many households or electronics kits.
Quick Answer
Gently remove dust with compressed air, then wipe the sensor area with a lint-free microfiber cloth dampened with a small amount of isopropyl alcohol. If needed, use a dedicated electronics cleaning kit and repeat as necessary, ensuring the mouse is powered off and unplugged before cleaning.
What You’ll Need
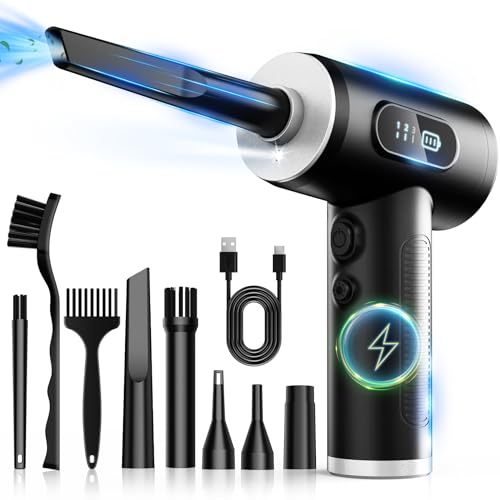
- Compressed air blower for electronics cleaning mouse sensor
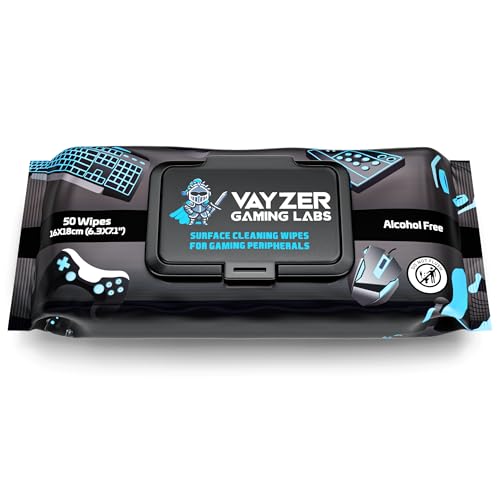
- Isopropyl alcohol wipe electronics cleaning kit for mouse sensor
- Lint-free microfiber cleaning cloth electronics cleaning for computer mouse sensor

Before You Start
Prepare a clean workspace and ensure the mouse is disconnected from the computer. Work in a well-lit area to better spot dust or smudges. Never spray liquid directly onto the sensor. Allow the sensor area to dry completely before reconnecting the device. Typical cleaning sessions take about 5–15 minutes depending on buildup.
Step-By-Step: How To Clean A Mouse Sensor
- Power off the computer and unplug the mouse to prevent any accidental input or short circuits.
- Hold the mouse with the sensor facing upward, and give the surface a light, outward shake to dislodge loose dust.
- Use a compressed air blower for electronics cleaning mouse sensor to gently blow dust from the sensor aperture and surrounding area. Keep the can upright and short bursts to avoid condensation.
- Inspect the sensor area with a bright light. If you see smudges, proceed to the next step with a lint-free microfiber cleaning cloth electronics cleaning for computer mouse sensor.
- Dampen a small corner of the microfiber cloth with a drop of isopropyl alcohol (70% or higher). Wring out excess liquid; the cloth should be damp, not wet.
- Gently wipe the sensor window and surrounding area in a single, smooth motion. Avoid scrubbing; keep the cloth nearly flat to prevent catching any edges.
- Let the area air-dry for a minute. If persistent marks remain, repeat with a fresh section of the cloth or a new wipe from the electronics cleaning kit.
- Reconnect the mouse and test its tracking on a desktop or mouse pad. If tracking remains off, recheck for residual dust or try a second pass with clean materials.
Troubleshooting
| Symptom | Likely Cause | Fix | Prevention |
|---|---|---|---|
| Cursor skips or jumps suddenly | Dust or smudge on sensor | Clean sensor area with compressed air and microfiber cloth | Store mouse in dust-free area when not in use |
| Tracking only on one axis | Dirty sensor window or misalignment | Clean thoroughly; verify surface is flat | Use a clean, smooth mouse pad |
| No response after cleaning | Liquid residue | Allow extra drying time; wipe with dry cloth | Avoid excess liquid and let it air-dry completely |
| Fading or blurred image on sensor | Scratches on lens | Replace sensor cover if available | Handle gently and avoid touching the lens |
Common Mistakes
- Using too much liquid or spraying directly onto the sensor
- Rubbing aggressively, which can scratch the glass lens
- Not allowing the sensor area to dry completely before use
- Avoiding the use of a lint-free cloth, which can leave fibers on the lens
Tips For Best Results
- Perform cleaning in a dust-free environment to reduce re-contamination
- Use short, controlled bursts of compressed air rather than long blasts
- Test on a variety of surfaces to ensure consistent tracking after cleaning
- Regular maintenance: clean every few months or when you notice tracking issues
Call A Professional
Seek professional help if the sensor remains unresponsive or if you notice signs of internal damage, such as liquid intrusion, corrosion, or a non-functional sensor after multiple cleanings. If the device is under warranty, consult the manufacturer’s service options to avoid voiding coverage.
FAQ
Can I use water to clean a mouse sensor?
Water can cause short circuits or damage the sensor; use isopropyl alcohol in a controlled, minimal amount only.
Is compressed air safe for all mice?
Yes when used properly in short bursts and upright, but avoid pressing the nozzle against the lens or internal components.
How often should I clean my mouse sensor?
Typically every few months or when you notice tracking issues; more frequent cleaning may be needed in dusty environments.
Will cleaning affect warranty?
Cleaning with standard consumer tools generally does not affect warranty, but avoid disassembly and follow manufacturer guidelines.
Buying Guide
When choosing cleaning tools for a mouse sensor, consider size, effectiveness, and compatibility with electronics. Look for a compact compressed air blower with adjustable bursts, a lint-free microfiber cloth suitable for delicate glass, and an alcohol-based cleaning kit that includes instructions and safe applicators. Noise level of the blower matters for quiet environments. Energy efficiency is typically not a major concern for these tools, but choose rechargeable options if you prefer cordless power. For placement, keep supplies within arm’s reach of your workspace to encourage regular maintenance and prevent neglect. If you frequently switch between devices, a small, portable cleaning kit helps ensure consistent testing and care across mice and keyboards.
Leave a Reply